FSM Chippy Hollow Hardware

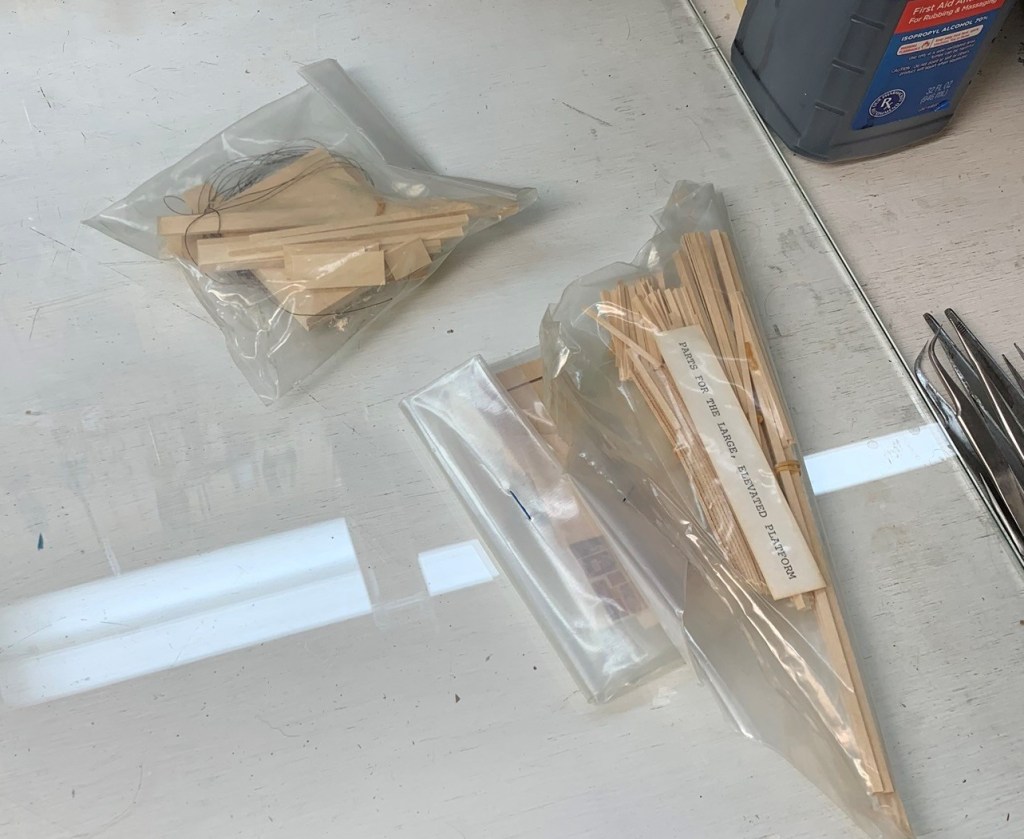
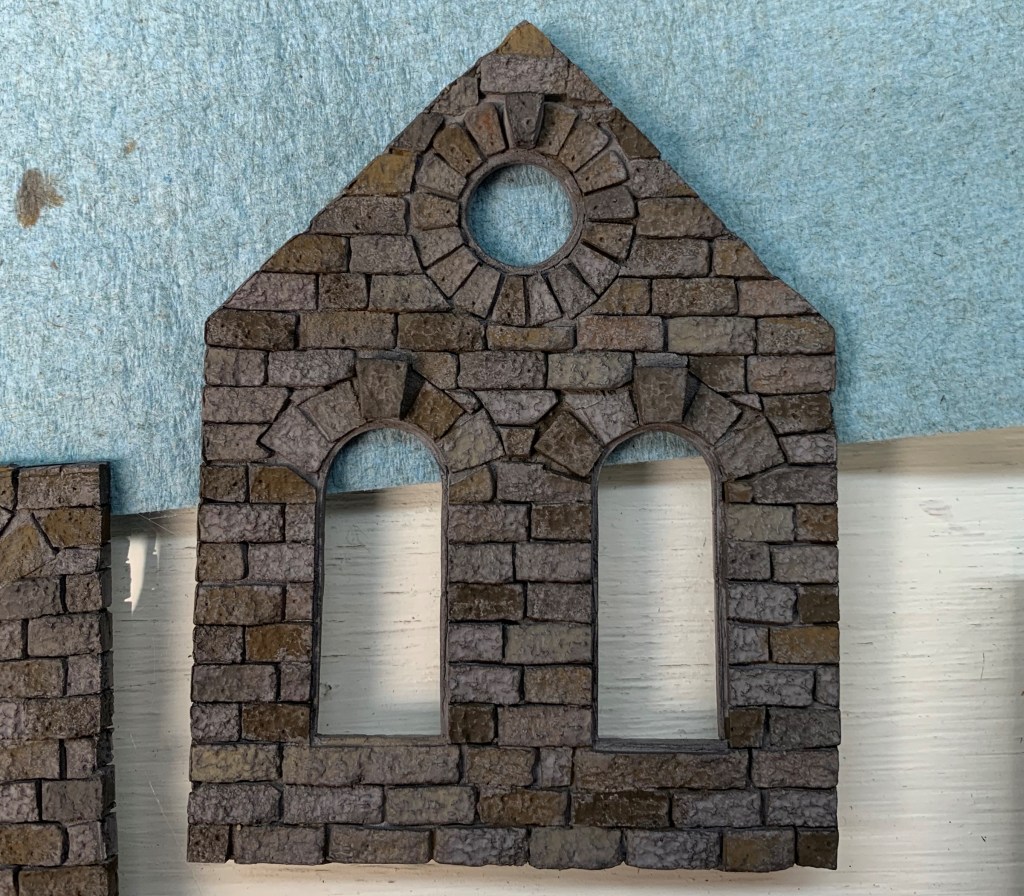
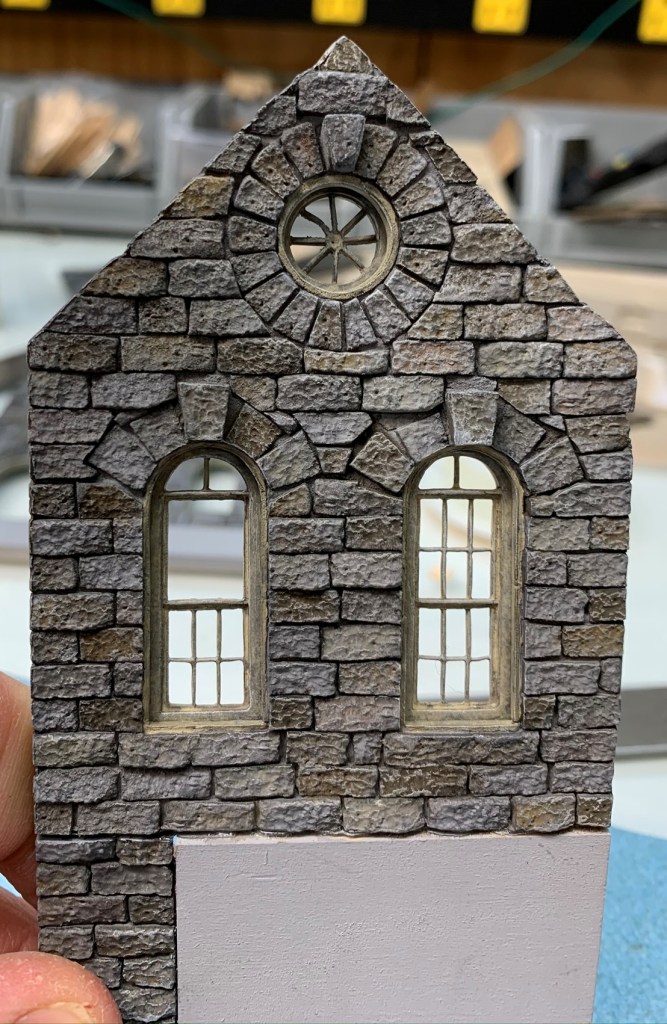
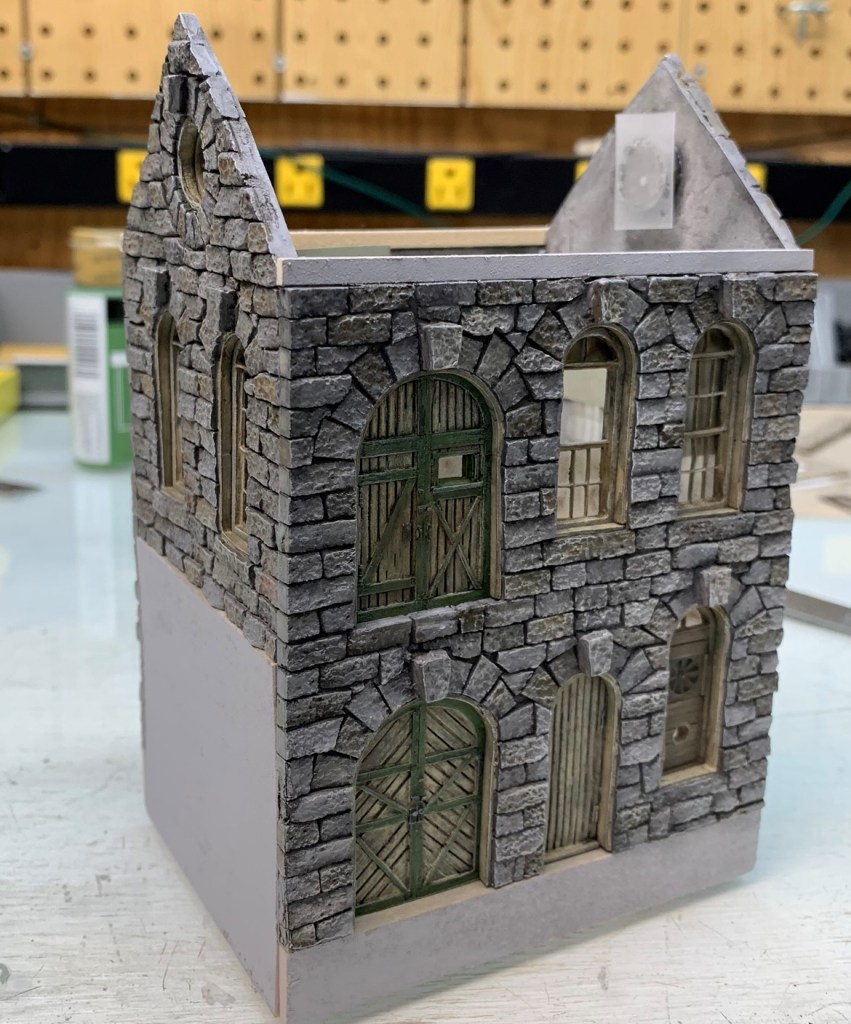
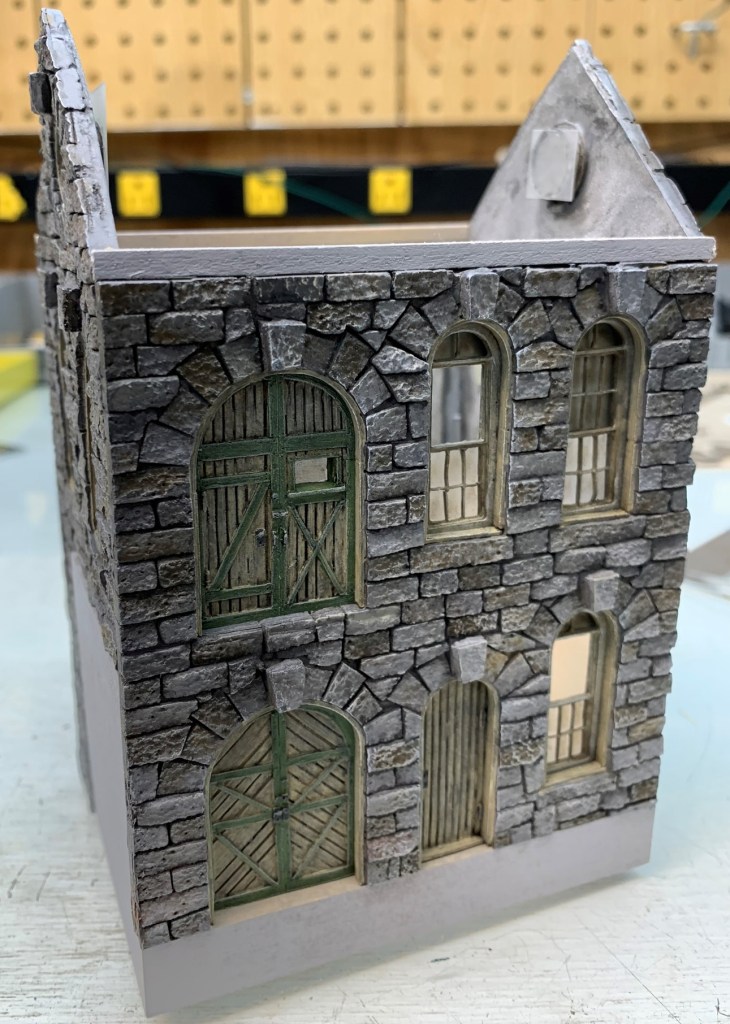
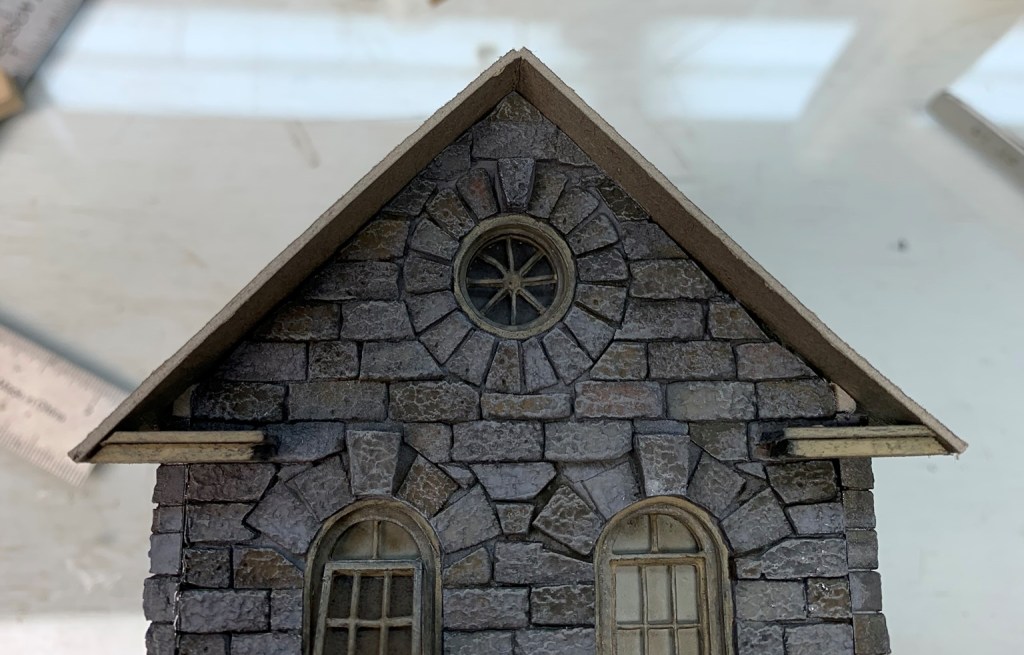
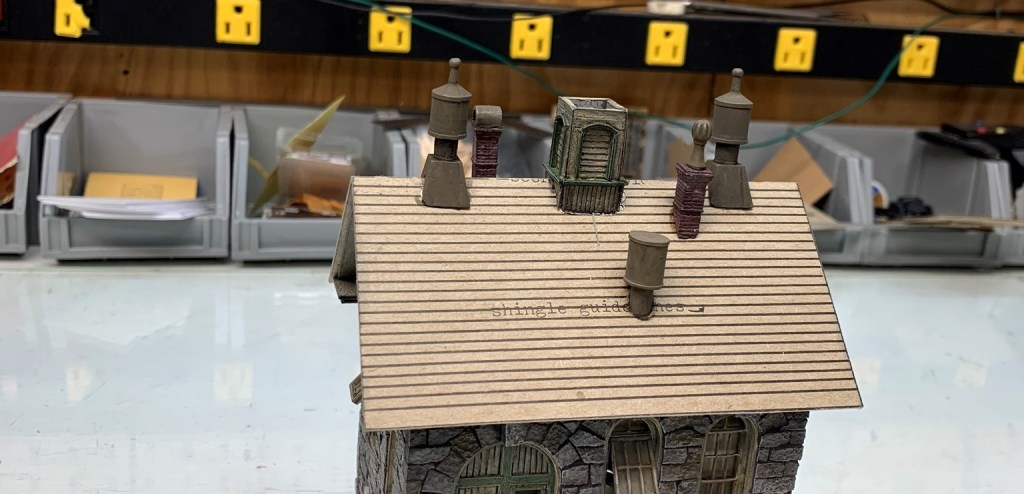
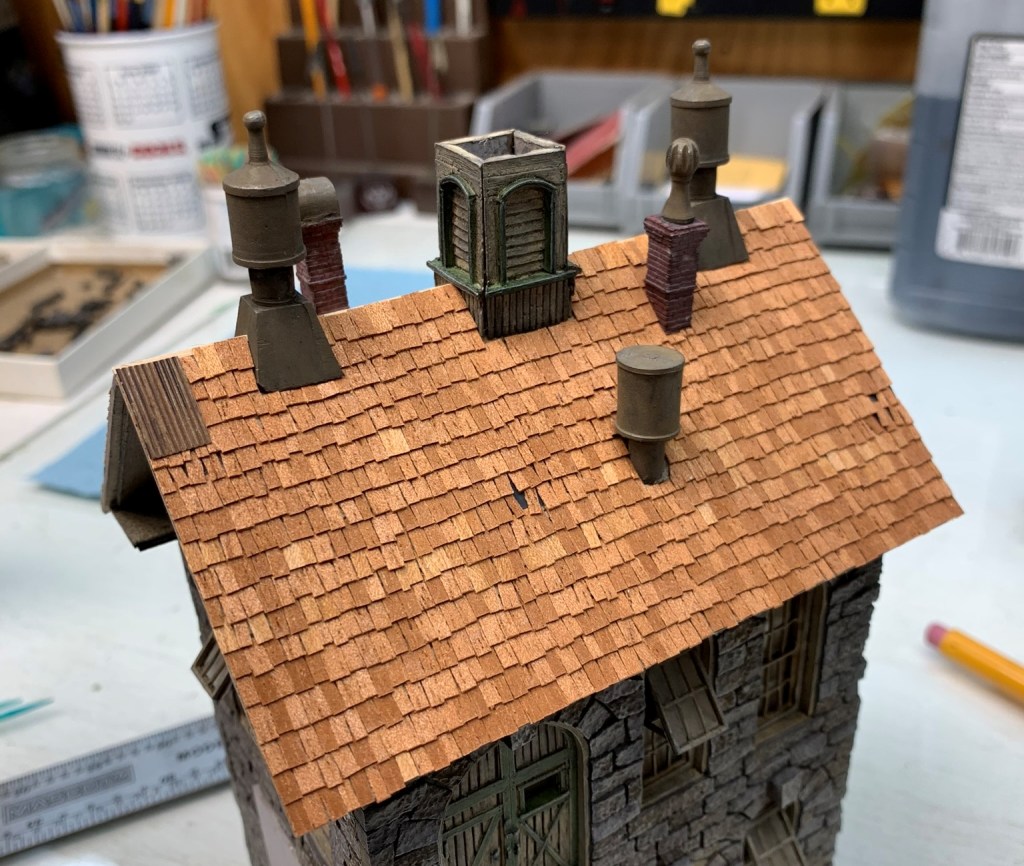
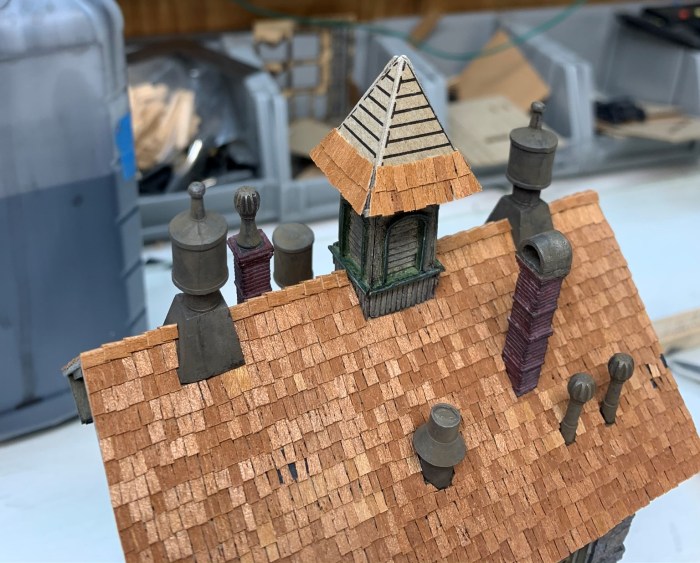
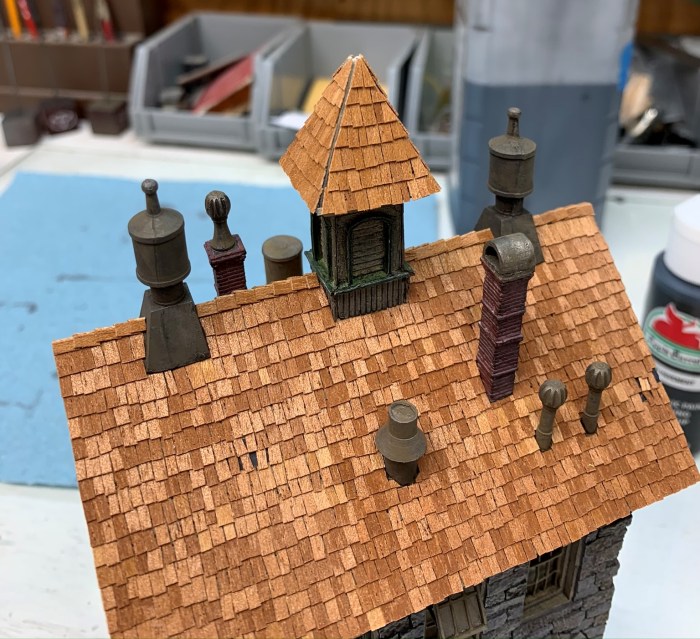
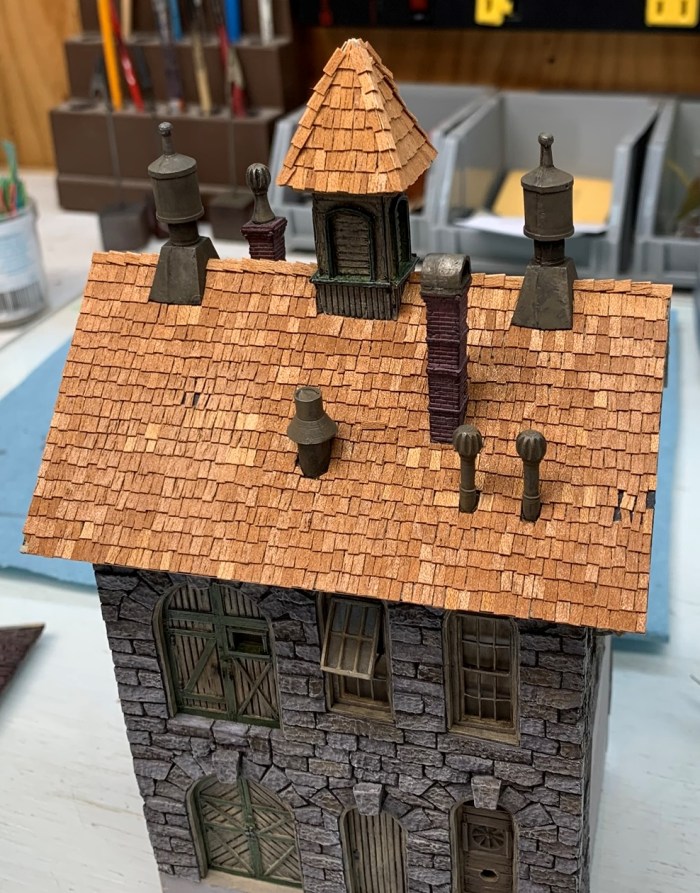
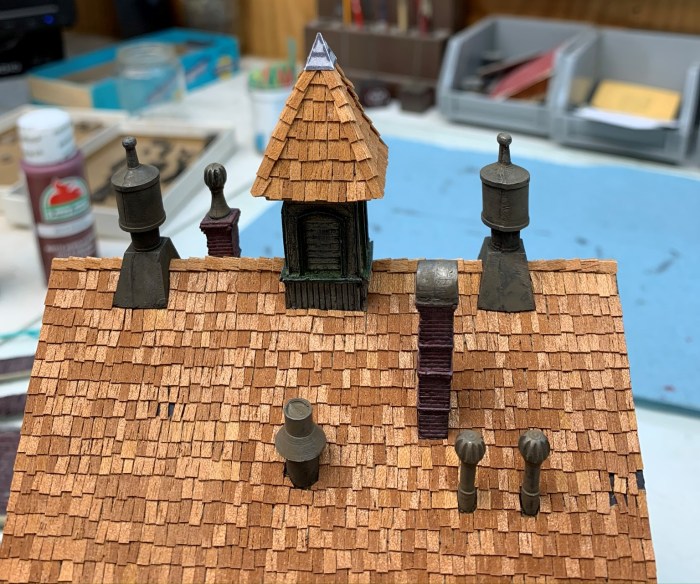
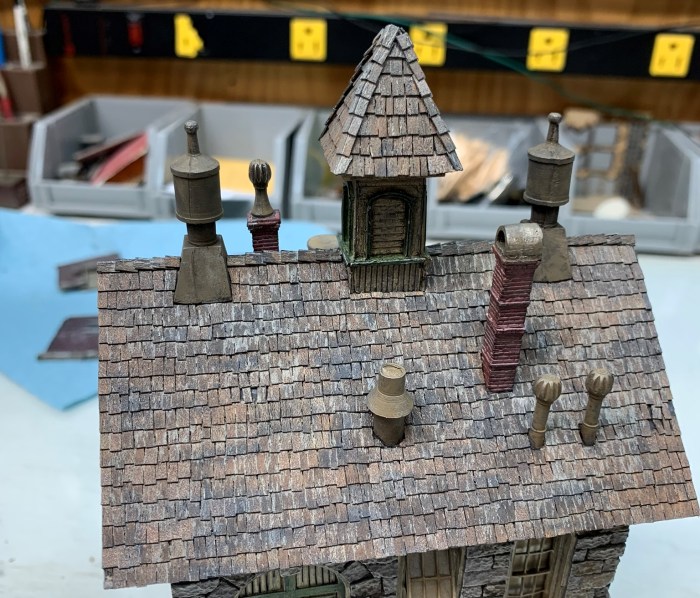
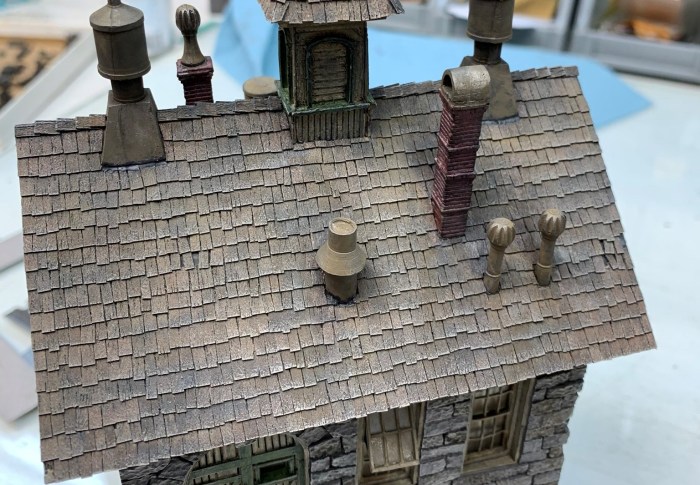
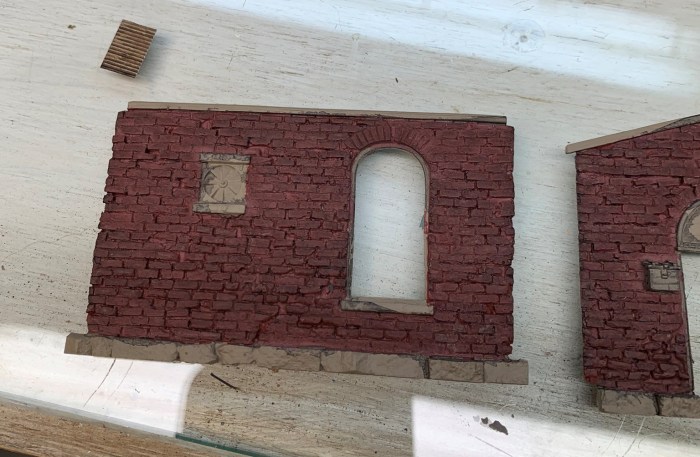
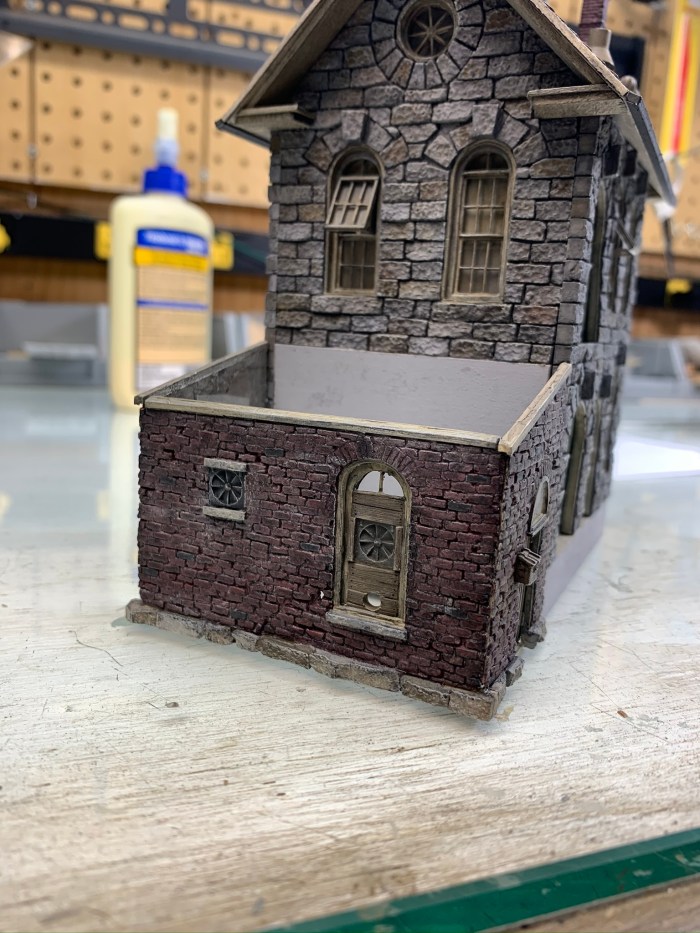
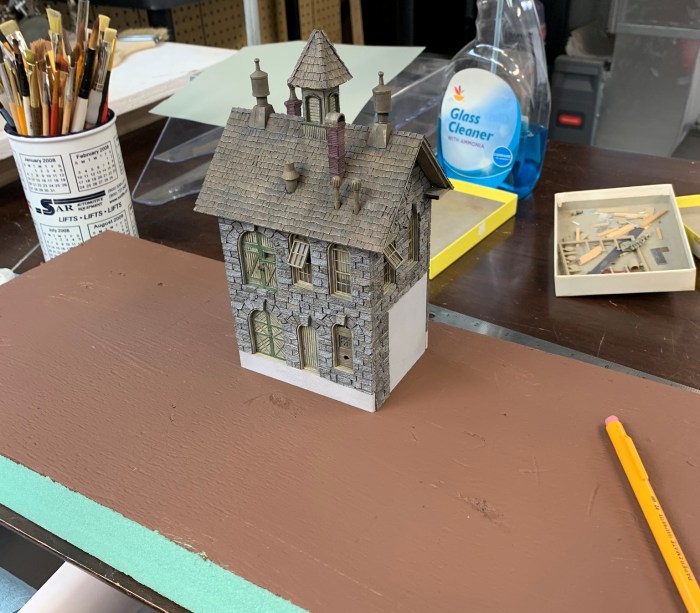
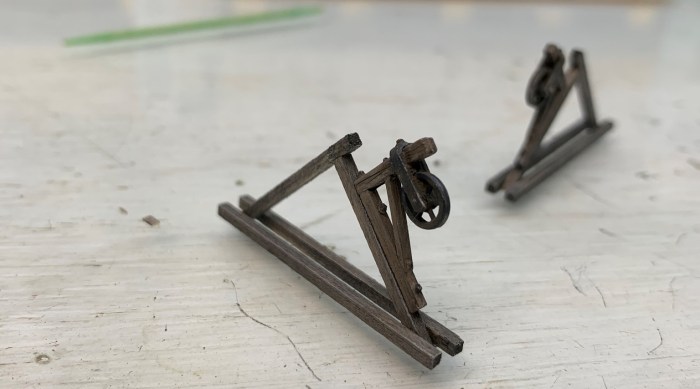
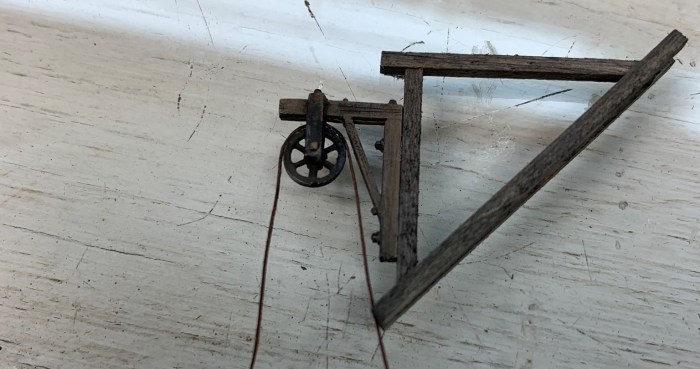
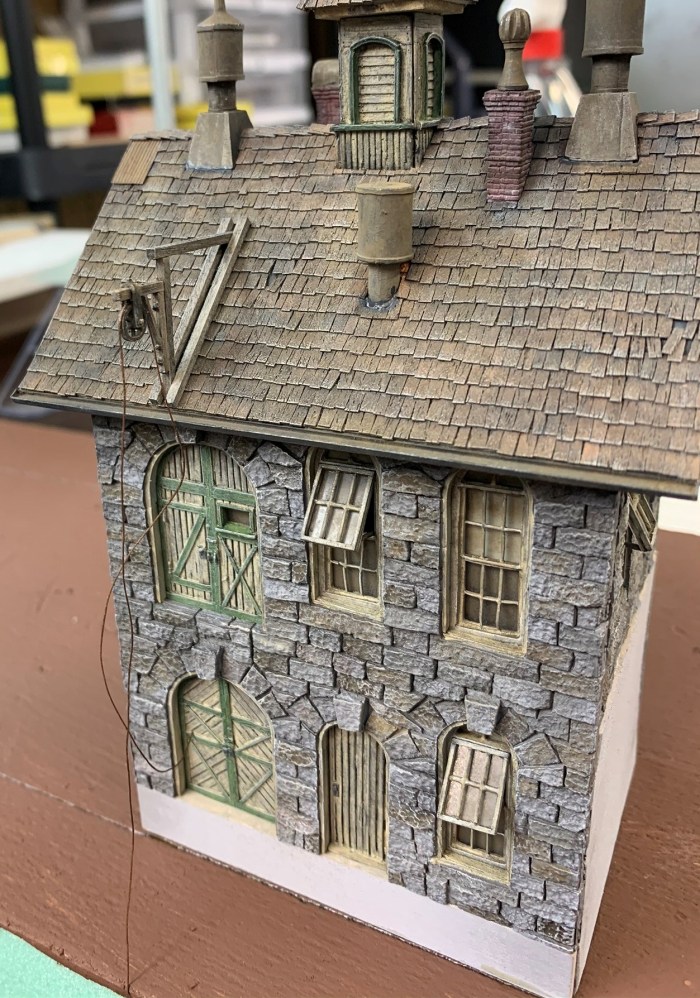
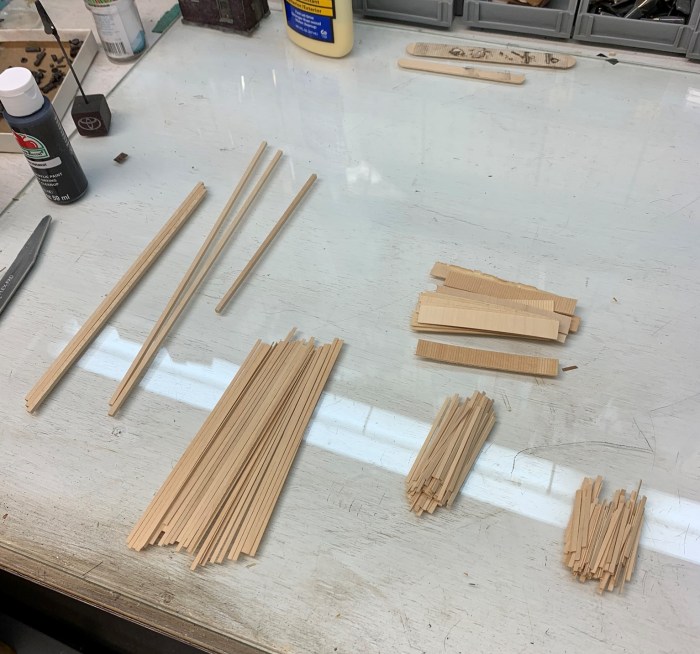
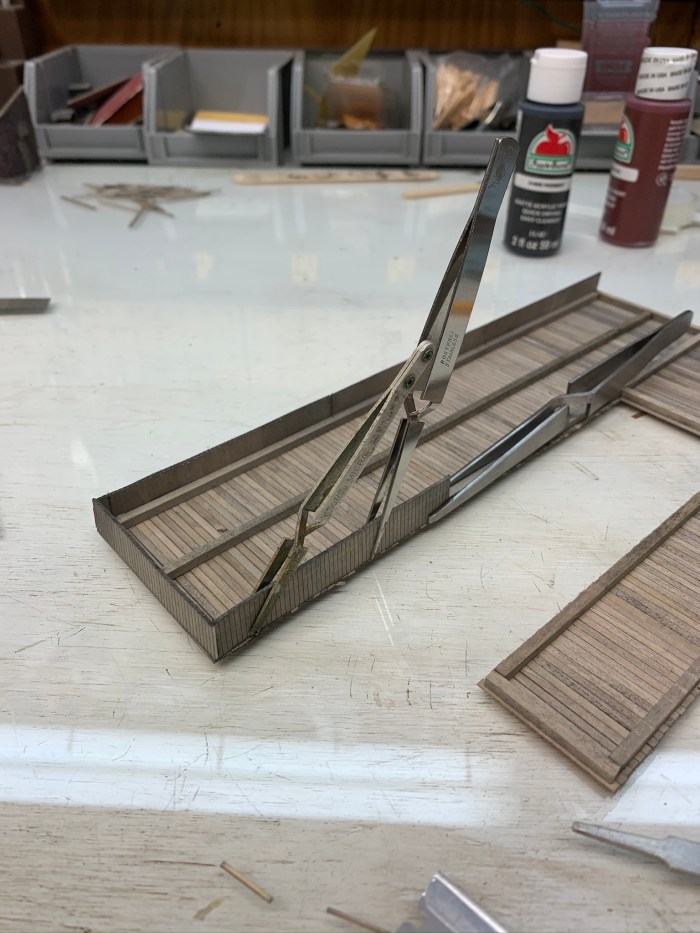
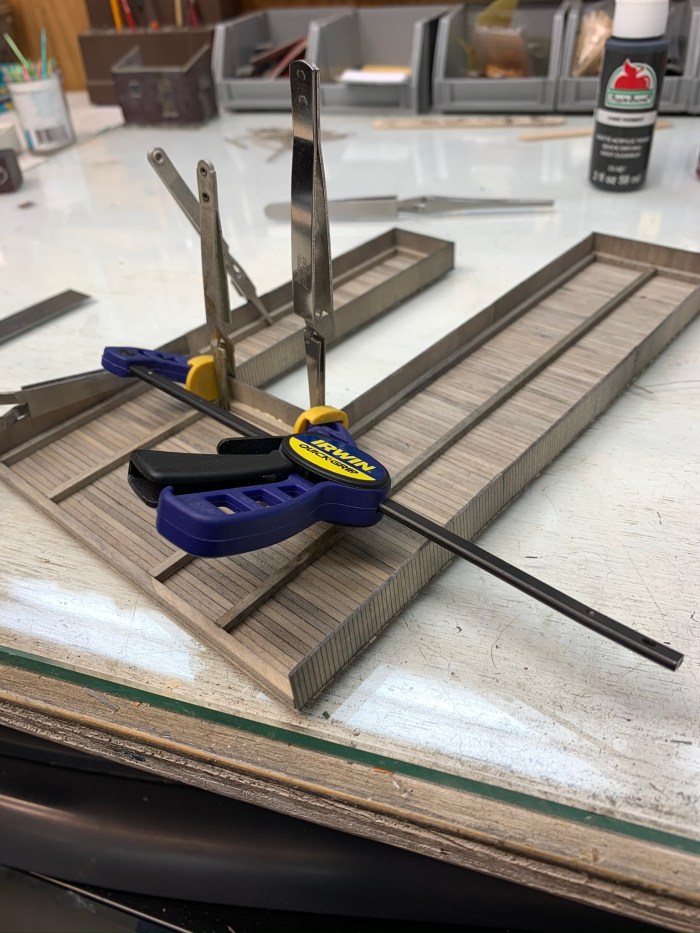
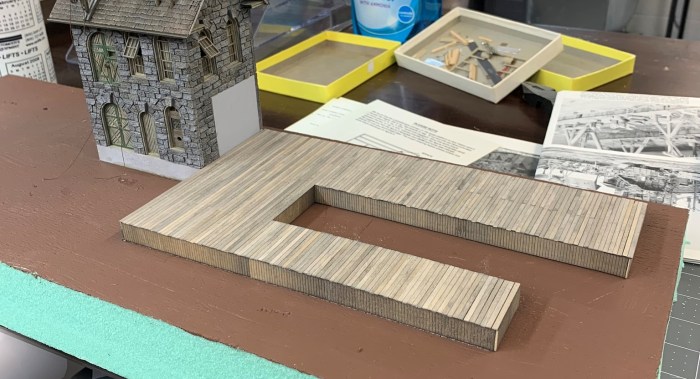
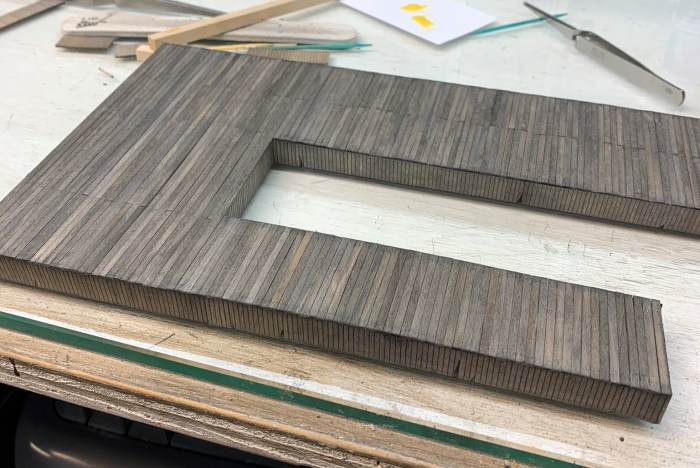
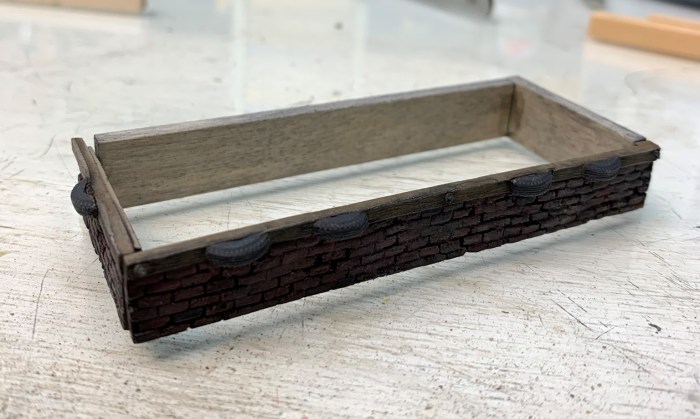
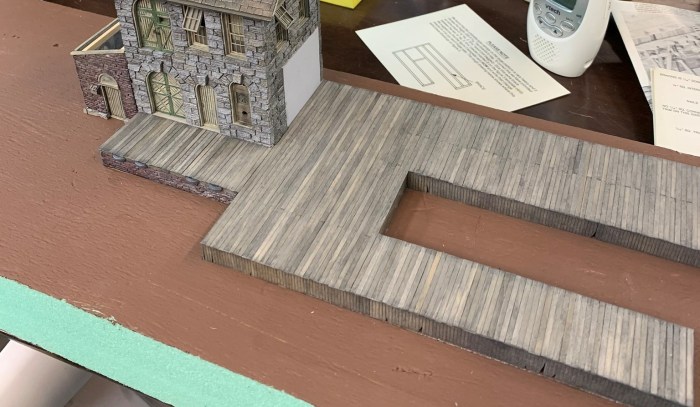
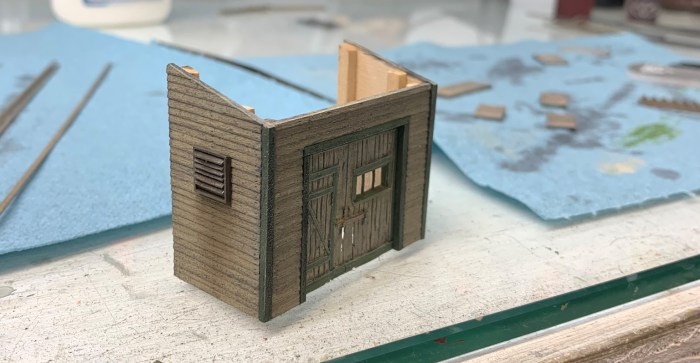
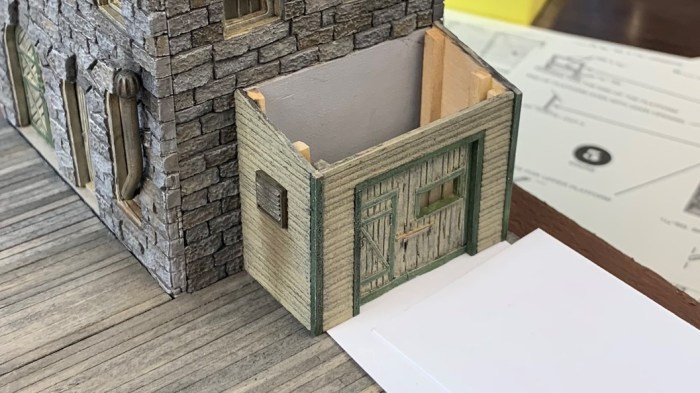
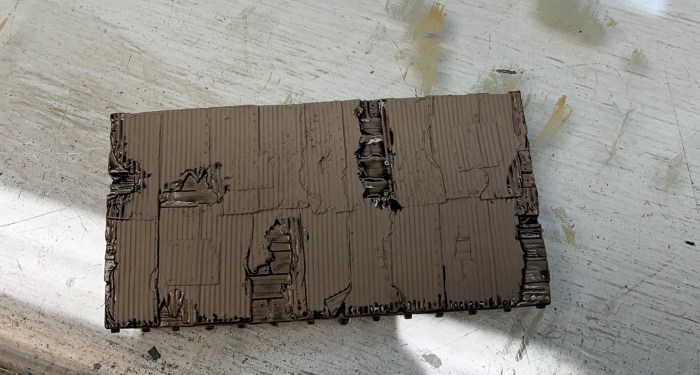
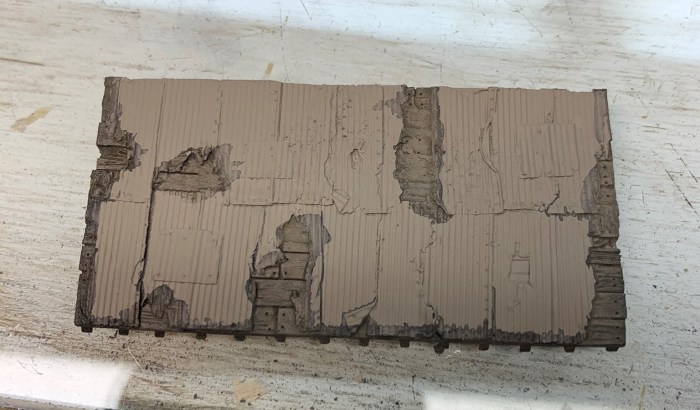
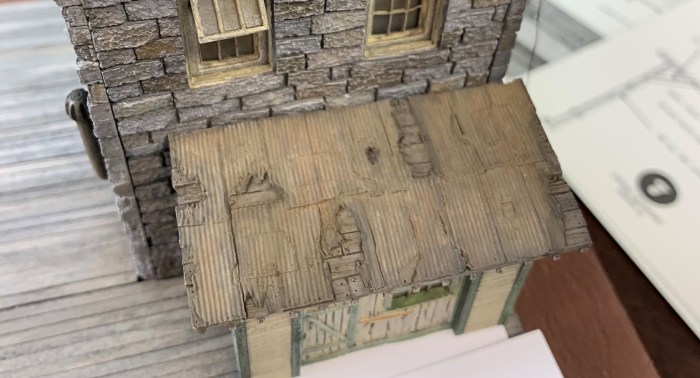
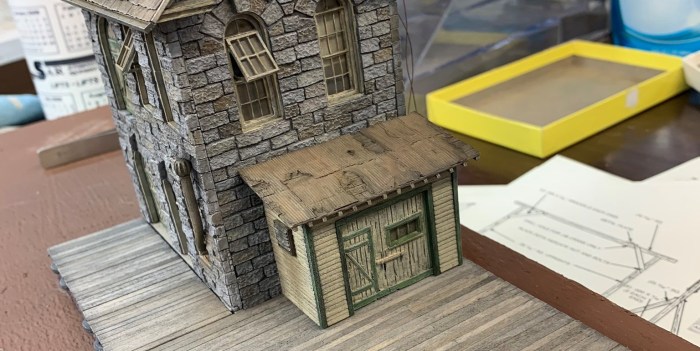
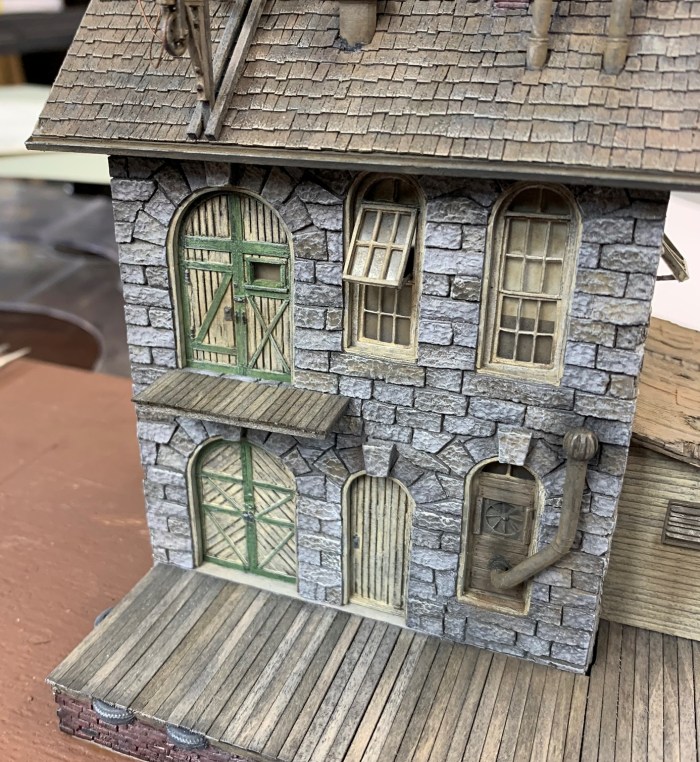
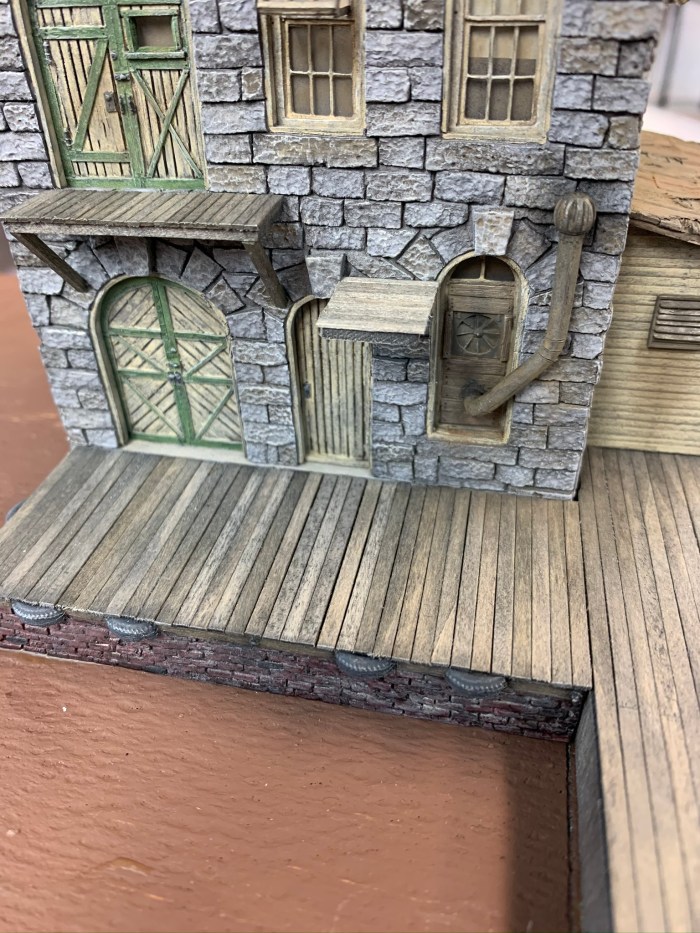
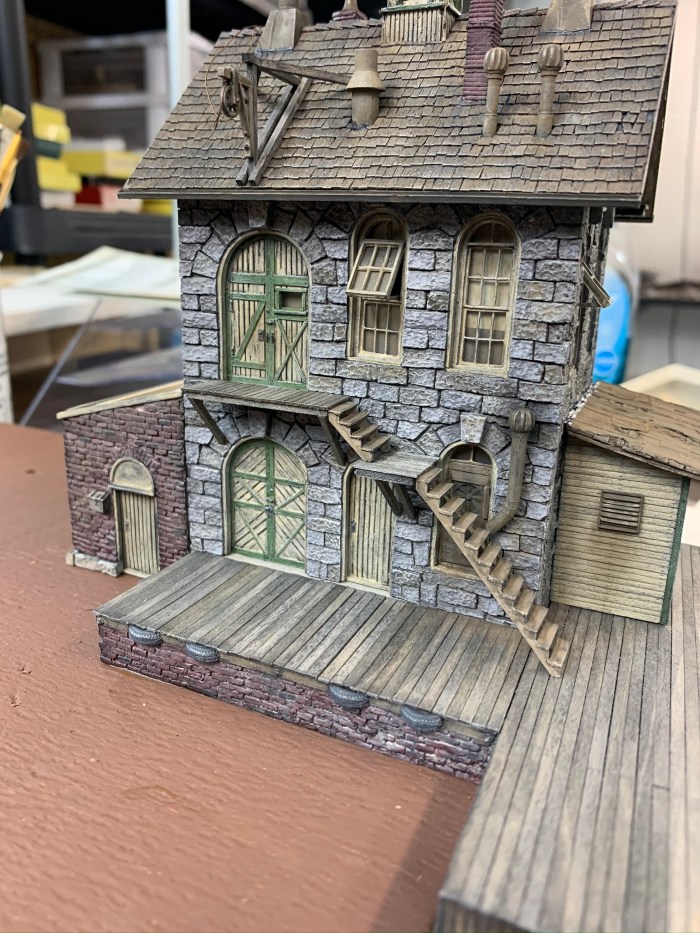
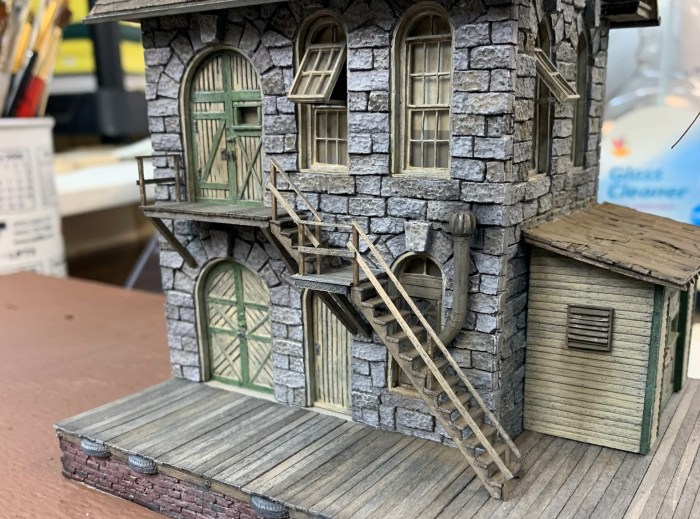
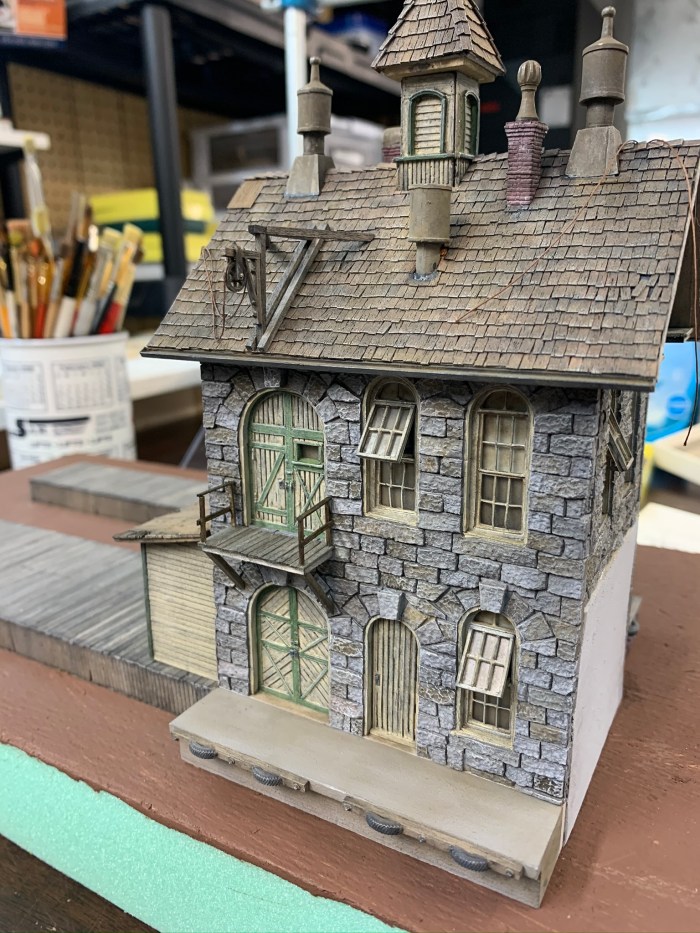
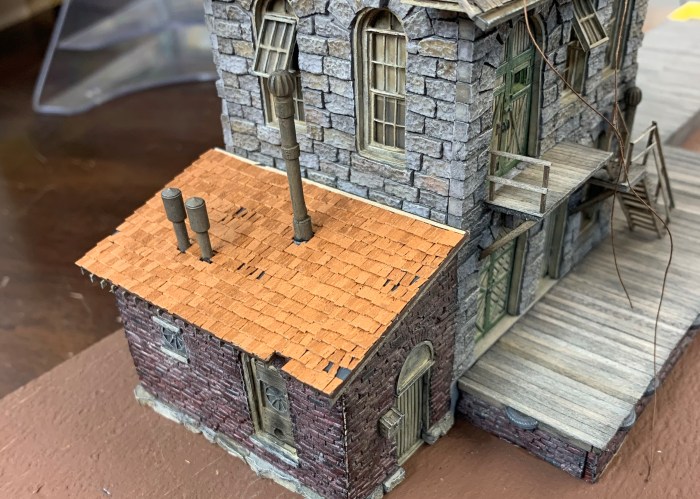
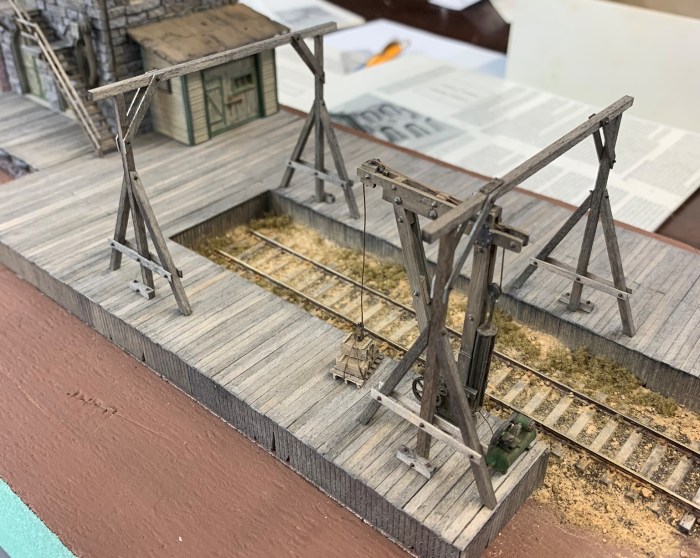
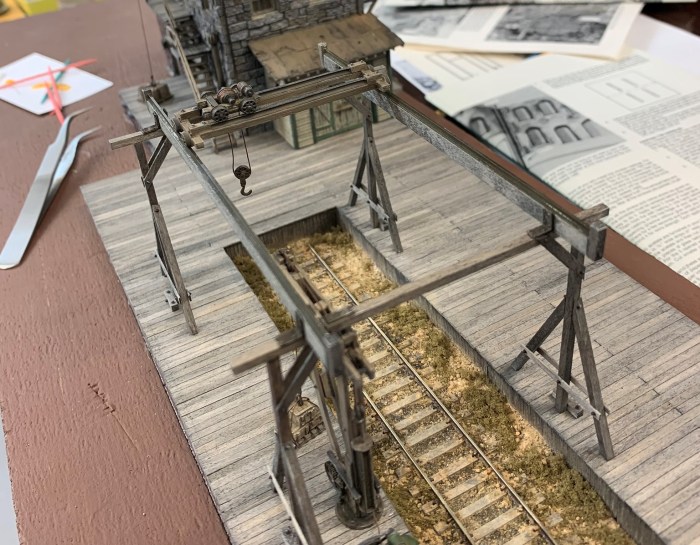
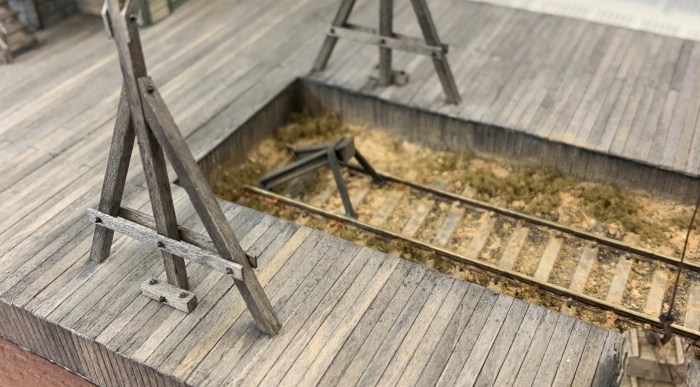
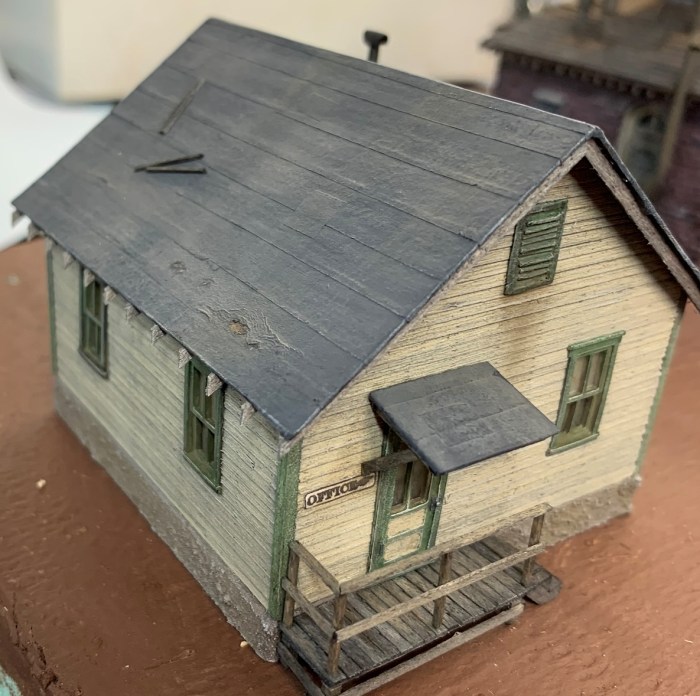
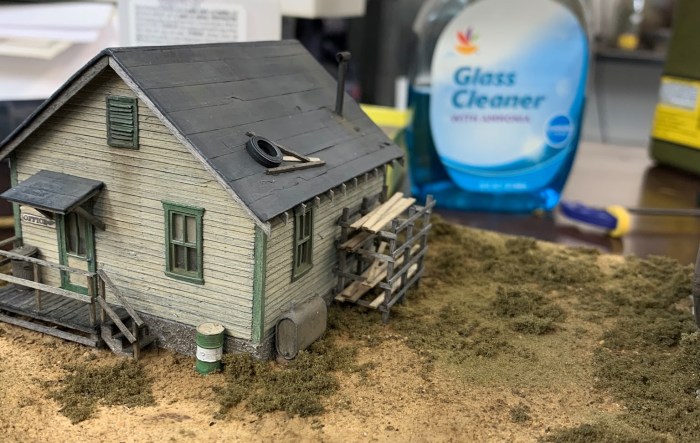
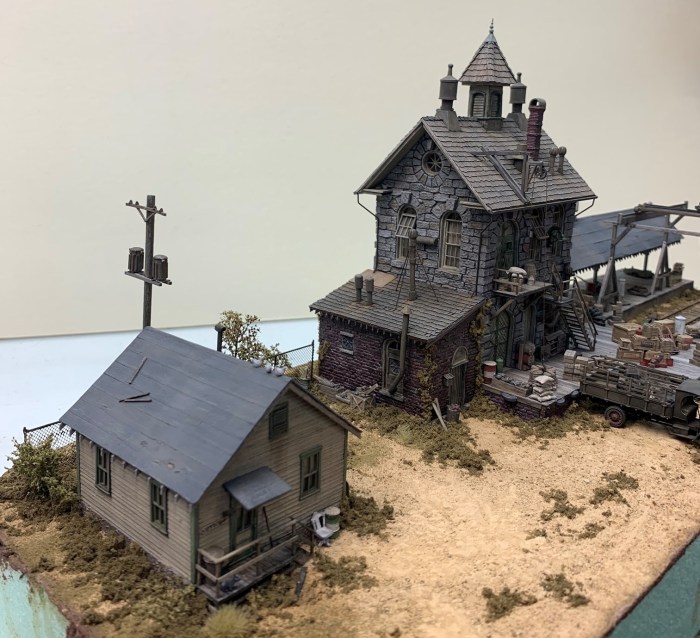
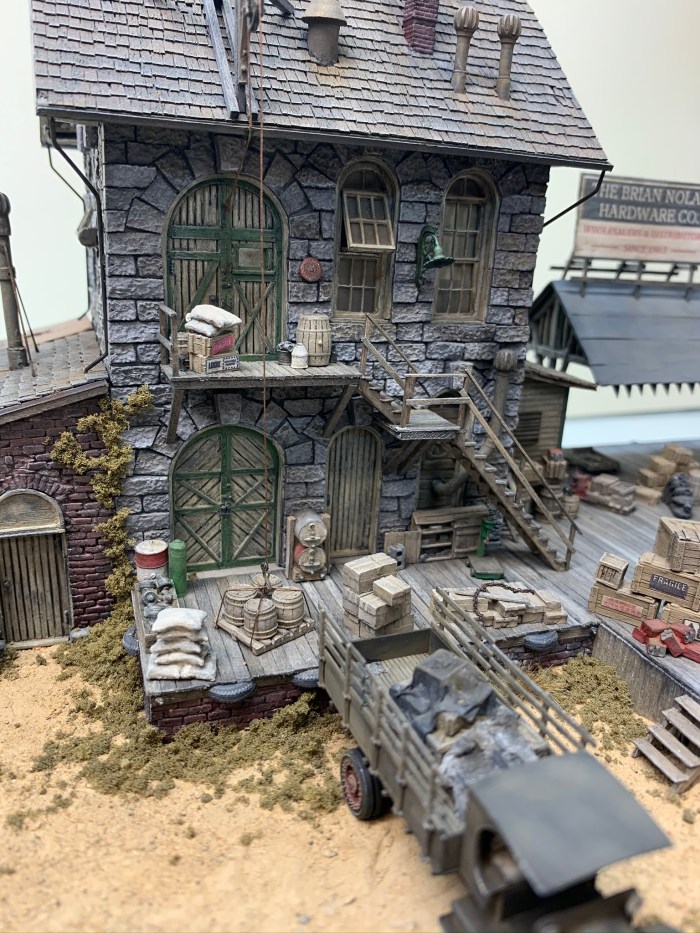
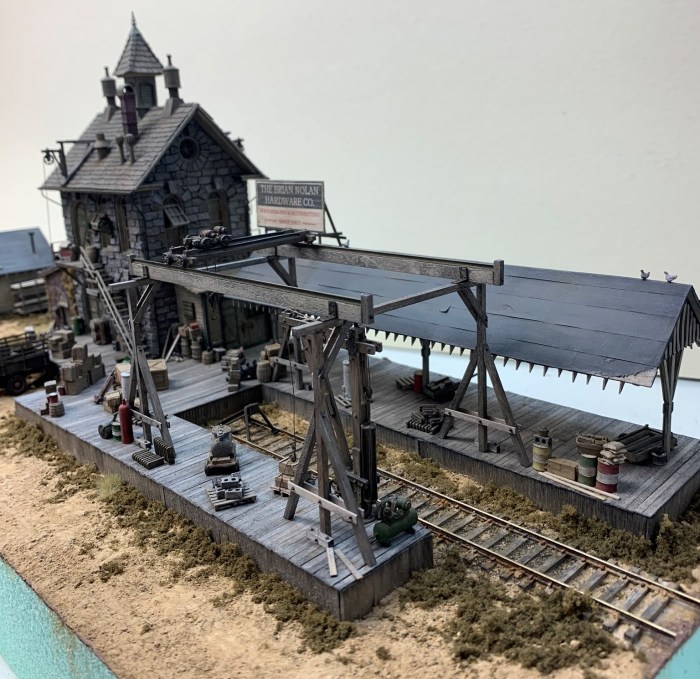
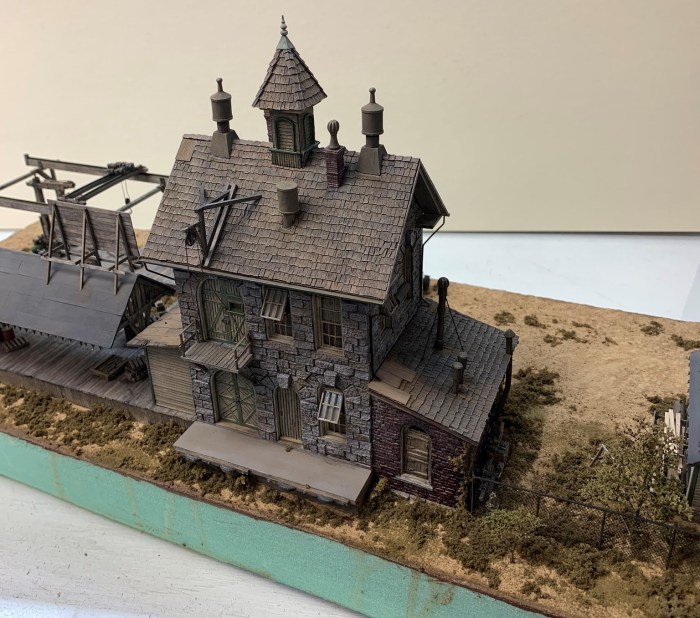
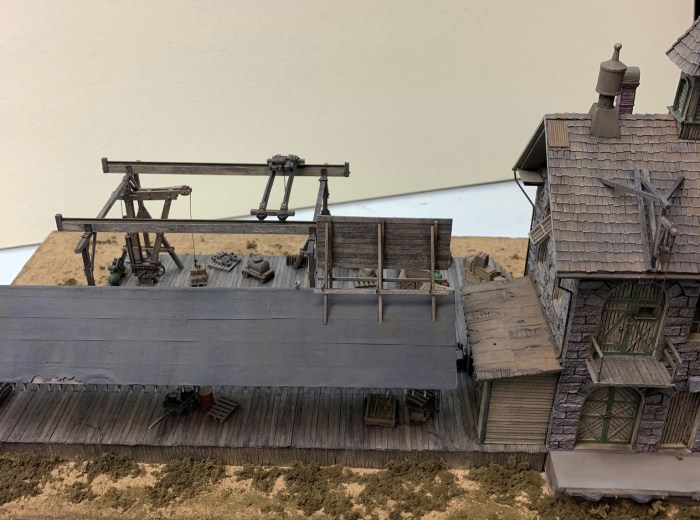
I’ve always been a fan of this kit so when I was able to pick one up for a reasonable price on Ebay I bought it. I have a nice little spot for it on my layout and the stone building will contrast with many of the clapboard structures I have surrounding it.

Most of this kit is white metal. I spent the first stage of the kit cleaning and organizing all the castings.
The kit only comes with a few bags of stripwood. Mostly for the loading dock area.
I sorted the castings by type. Anything that represents wood or mostly wood will get a earth tone primer. I used Rust-Oleum Khaki Camo paint for this.
All the parts that represent metal got blackened with Jax Pewter Black
I primed all the stonework with gray automotive primer.
After the primer dried I gave it a wash of alcohol and india ink.
Next step I colored some of the stones with different shades of powdered chalks mixed with alcohol to create a stain or wash.
I used so more A&I wash to highlight the cracks but I was careful not to wash over the face of the stones so I didn’t wash off the chalk I had just applied. To accomplish this I used a pointy brush and let the A&I wick in between the stones.
I dry-brushed the stones with a very light tan color. This step really brings the stone texture out.
The wood trim was painted with Apple Barrel Khaki. This is the same color I’ll be using for the doors. The kit calls for Floquil Depot Buff but this is a decent substitute.
A few A&I washes were applied to tone down the color.
These wood blocks go under the stone walls and will be covered with a small clapboard structure on the dockside and a brick structure on the rear.
I started coloring and weathering the doors and windows.
In between drying of the stonework I started painting some castings. I fix my castings to a tongue depressor with double sided carpet tape. Carpet tape holds the castings more securely than 3M double sided tape.
The wooden pieces glued to the top and the bottom of the walls interfere with the other walls they are glued to so I used a razor saw to notch them.
I was having some trouble getting a clean cut with the razor saw so I just hacked this out with a X-acto chisel blade.
I mocked the corners together to make sure I had a tight fit.
I started adding the windows and doors to the walls.
I glued the walls together using 2 part epoxy. George recommends adding the open windows and the little smokestack before assembling the walls but I prefer to do it after. Less chance of knocking them off during the gluing and clamping.
While the walls were drying I colored up a few crates. If I paint 6-12 castings every time I’m waiting for something to dry I should have most of them done when it comes time to start detailing.
In preparation for installing the roof card I added the cross support. Lots of heavy lead pieces glued to the cardboard so it’s important to keep the roof from sagging.
Roof card is glued in place
These 2 pieces will be the base for the lower gable detail.
Here they are glued together.
I made one for the other side and cut them both with a miter box and little hand saw to match the profile of the roof.
Next step is gluing the pieces that go vertically up the bottom of the roof. I used a miter box and a small handsaw to cut these as well.
I added all the roof details before shingling the roof. I prefer to do it this way if I’m using individual shingles. All the chimneys are drilled and I insert half toothpicks in them. I can then just poke a hole in the roof, slide the toothpick in the hole and I don’t have to worry about the chimney moving while it’s drying.
I started shingling the roof. Its a little hard to see but I use a piece of scale 1×3 or 1×4 before the first row to bring the first row of shingles up a bit and simulate a starter row. I’m using cedar sheets from Sierra Scale Models. I cut them into strips and then just chop random shingles out of the strips.
Moving along..
I do about 1 inch at a time and then alternate between the next row and 2 rows on the other side. This way I don’t mess up what I’ve already done.
I added a little piece of patch corrugated metal just to give it a little more character.
Almost done..
I ran a piece of scale 2×2 across the ridge to give the ridge shingles some support and something to glue to.
I finished the ridge cap shingles.
I installed the cupola roof card.
Installing the shingles..
I made a copy of the roof card, cut out the the top portion and will use it as a cap under the finial. This is just the test fit.
First coat of color is on the shingles. I used a thinned out wash of Apple Barrel Pavement to start.
Next I washed over the shingles with a light gray thinned out heavily.
I washed over everything with A&I to darken it a bit.
I drybrushed the roof with linen colored paint. You can see the right has some highlights and the left isn’t touched yet.
I brushed some chalks across the roof to add a little more color.
I drybrushed the roof again to bring everything together and blend it a bit.
I primed everything for the small brick building earth. I think black would’ve been fine too. The 2 small walls are part of the loading dock.
First coat was Apple Barrel Barn Red followed by a wash of A&I to tone it down.
I painted a few bricks with dark gray,
Next I use some thinned out off-white or light gray and just touch it to a crack so it wicks into all the stones.
I painted all the little details and installed the doors and windows. The walls also go another A&I wash plus some drybrushing. Then I glued all 3 walls together.
As much as I tried I found it difficult to get a really tight corner joint. The lead walls and just too flexible. I’ll have to disguise this with vines.
This is how it looks next to the main building.
The kit included these gutters. They are U channel type wood. George recommended just staining them with A&I but I felt like they are a little large and a touch out of scale but I like the detail so I painted them flat gray to tone them down a bit.
I made the base for the diorama. George recommended 9×18 but I made mine 9×24. I plan on adding a building or shed to the left of the building.
I glued the main building to the base.
Since the main building is glued down I added the finial to the top of the cupola. I sprayed the piece of paper cap I made earlier with flat black, blackened the metal finial piece and colored it with a little green mixed with white. I weathered it with some A&I and drybrushing. Even if I’m careful I’ll break this off at least 2-3 times before I’m done.
I started putting together the rooftop cranes for both the front and the back of the building.
I added the thread that will represent the cable. It’s super glued at the top but wont be finished off till later.
I glued it to the roof. I thought this might be tough to keep from sliding or moving while drying but I had no problems. It’s a little front heavy with the lead casting.
I started getting ready to build the loading dock. It’s mostly all pre-cut so it should go pretty quickly.
he stripwood was all organized by rubber bands but the ravages of time have caused them to turn to dust and goo. I made little piles of all the sizes.
I use double sided tape to secure the framework for the loading dock. The instructions recommending gluing directly to the template but I prefer this method.
I started with the longer boards. I ended up cutting up the boards for a more realistic look. Most of the dock will be covered with castings and other things so I didn’t get too crazy.
This area was next. The kit was short a few boards so I had to make a few. I think this is the first and only time I’ve built one of George’s kits that was short or missing something.
Finished running the boards.
The vertical boards are made from these little pieces of siding.
I test fit the loading dock in place and marked it’s location.
I turned the whole dock upside down and cut some pieces out of the vertical boards to give it some weathering. I also added some nail holes.
I gave the whole assembly another A&I wash to get the color I wanted.
This is the base for the front smaller loading dock.
I covered the front dock with boards and glued both docks down.
I placed the brick building in it’s position so I could get an idea of how everything will look together.
Next step was building this little shed that goes on the right side of the building on top of the decking. I painted the walls with that same color as the tan on the main structure Apple Barrel Khaki. The trim is also the same as the main building Folkart Clover.
I glued the shed to the main structure. I ended up with a gap where the walls meet the stonework so I shimmed the bottom front up with a few business cards while it dried. It will be easier to hide the gap on the flooring then it would be if I had to hide it on the wall. Lots more options to cover it up with details.
The roofing for the shed is a precast piece of white metal. I was a little apprehensive to use it but I decided to give it a try. I primed it with khaki color and used some A&I on the wood parts.
After the A&I dried I used a couple shades of chalk mixed with alcohol to paint the wood pieces.
I painted the corrugated metal pieces with gray paint followed by A&I. Of course the metal looks heavily weathered so I wanted to really rust it up. This is just the base.
I painted all the gray areas with a slurry of alcohol and rust colored pastel chalk powders to rust them up.
I liked the way the roof looked at this point so I glued it down.
Next step was adding the platforms and staircases. I added the upper platform to the front upper door.
Next I added the second platform and the lower supports for the upper platform. I figured out the placement of the second platform using the little stair casting as a guide.
The small stair casting is glued in place.
I had to cut one step off the large casting to fit it in place. Once I got the stairs in place I wasn’t happy with the color of the wood. Between this photo and the next one I washed over the steps with A&I to better match the decking.
Added the railing posts. You can see the stairs are a little bit darker.
I added all the railings and the little one on the left of the upper door.
I glued the platform on the rear of the structure. This one has no stairs. I also added the concrete dock. It’s a piece of wood colored with gray paint and weathered with chalks. I didn’t spend a ton of time with this area because it will be impossible to see once I add the structure to the layout.
Next I added the roof to the brick structure.
This is the way I install my chimneys. I drill a hole in the center and super glue a toothpick in place.
All the chimneys are secured with Liquid Leading. This secures them and looks like roofing tar.
I started adding the shingles. Same as before.
I glued the building to the main structure before I finished the final row so I could get the shingles right up to the stone.
I finished adding the shingles and colored them using the same methods as the main roof.
I added a couple pieces of corrugated metal to the roof to represent a makeshift repair and add a little character to the roof.
Now that the roof is in place I started adding the downspouts. They are made with thick wire bent with a set of needlenose pliers.
I added some wire supports and weathered with some rust powders. I’ll add moss and vines once I get the ground cover down.
I need to add the track and scenery to this area before I can proceed with the cranes.
I added some ground cover and the lower mounting plate for the crane.
The crane assembly came in 2 pieces. The majority of this casting is wood so I primed it with khaki spray.
I colored all the metal parts with Apple Barrel Pavement and added the air pump and the gear. I also weathered it with some chalks and dry brushing.
I added the hook and mounted the crane to the loading dock. I really didn’t like the way the hook was sitting.
I glued a few of the crates to a pallet, added some rope and mounted the hook this way. This looked more natural to me.
I assembled the first side of the crane assembly. Pretty straightforward assembly..lots of small NBW castings though.
I added the compressor to the backside of the crane.
Started working on the other side..
I added the rail assemblies to the top of the traveling crane. The kit doesn’t provide the rail. George recommended code 100 but this is darkened rail from micro-engineering and I think it’s code 70.
I added the small 90 degree metal plates to between the rail portion and the uprights. I also added the boom assembly.
I still need to add a bumper to the track. I had a Hayes type from Tichy but I didn’t really like it once I put it together.  It was too fragile and I didn’t think it could take even the slightest bump from a boxcar without falling apart.
I added the bumper to the track. This is from Peco. I sprayed it with gray paint and weathered it with some chalks.
I started working on the roof of the canopy. I wanted some areas where the tarpaper had worn away exposing some wood so I cut some pieces of the cardstock and added wood filler.
I decided not to use the construction paper included with this kit. I wanted to experiment with some black tissue paper for tarpaper. You can see where I tore the paper before I installed it.
I covered the whole roof and added some tears to the paper with the blunt end of some tweezers.
I added the canopy supports, the framework and the 86 rafter tails.
I knew it was going to be challenging to glue the canopy to the platform. It’s very top heavy so I drilled out the center of the posts, cut down some T pins and glued them in the holes. I used foam for the base of my diorama so I wanted the pins to go through the platform and into the foam.
I stuck the platform into a piece of foam to work on it. I also ended up painting the paper again with some Apple Barrel Pavement after this picture was taken. The primer I originally used started to get some sheen to it once I handled it a bit.
I weathered the roofing paper with some chalks and glued the canopy in place.
I’ll finish detailing the roof once I installed the signage.
I decided to rename the structure after one of my favorite modelers Brian Nolan. I took a lot of inspiration from his build of this kit. I kept the style of the sign close to the original FSM design.
I scratchbuilt this little office for the scene. It’s a pretty simple design. I used windows and doors from my scrap bin but I don’t know where they came from. The front door might be from the original FSM Pile Driver. I made the foundation out of wood and the texture is from Liquitex Ceramic Stucco from Michaels. Karl Schulz told me about this product and it works really well.
Another angle of the same building. The roof is done with black tissue paper same as the other roof.
I glued down the office and prepped for the first layer of dirt and grass.
It’s starting to come together now that I add the dirt base. I do a simple first layer and add more weeds and details after everything dries. I had some  issues with the decking warping especially the vertical siding around the base but everything started to settle down once it dried.
The ground cover is still a little wet here.
I thought the area around the office needed something other than a few castings so I made this wood rack. I wanted the wood to look fairly new but still toned down a bit so I used some Hunterline Driftwood to tone it down a little.
I glued the wood rack in place.
I added a couple little details around the office. I also threw some trash on the roof to break it up a bit. This is just a start of course. This kit comes with tons of castings.
I added the castings and details over the weekend. The diorama is mostly complete at this point.
I didn’t add much detail to the rear. It will not be visible once the diorama is installed on the layout.