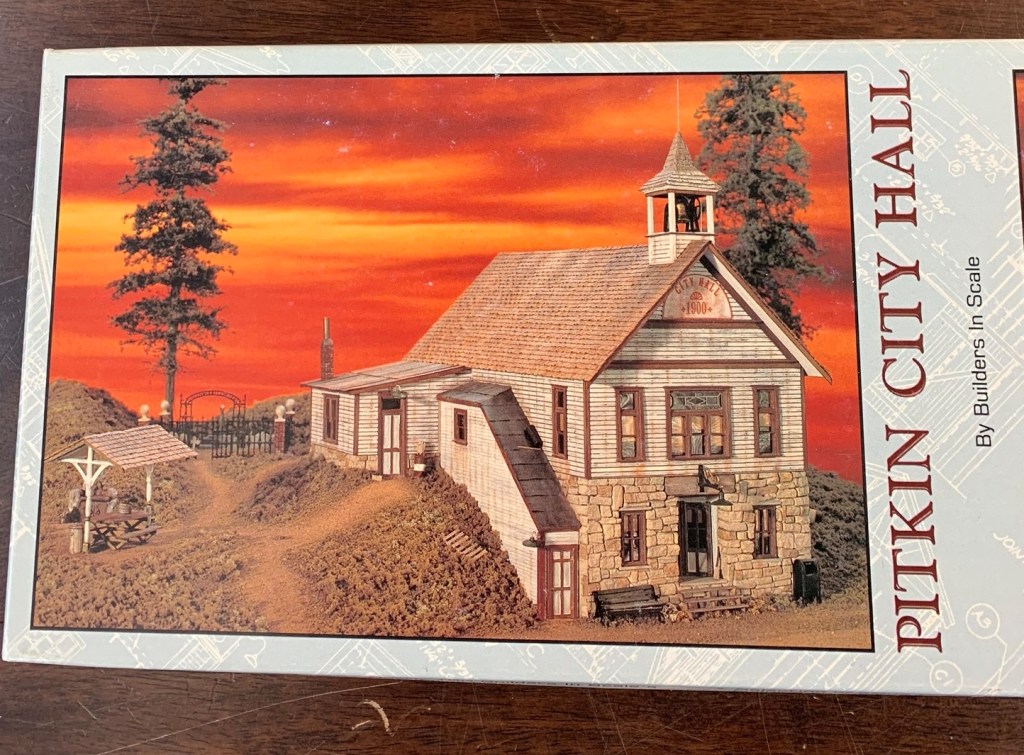
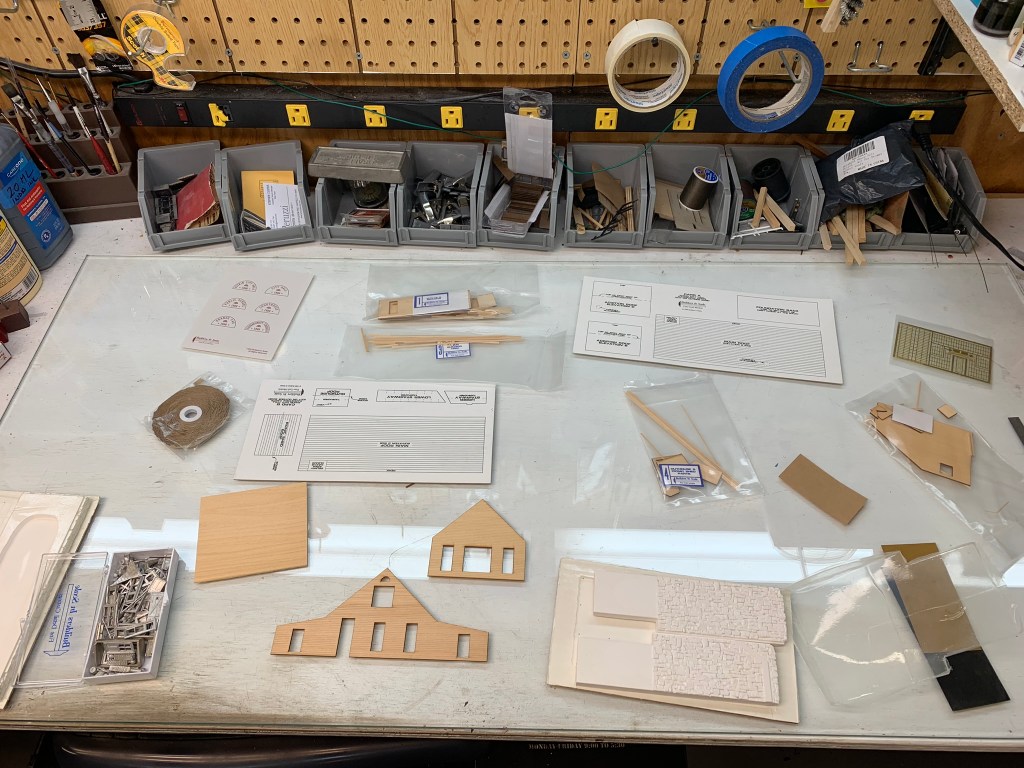
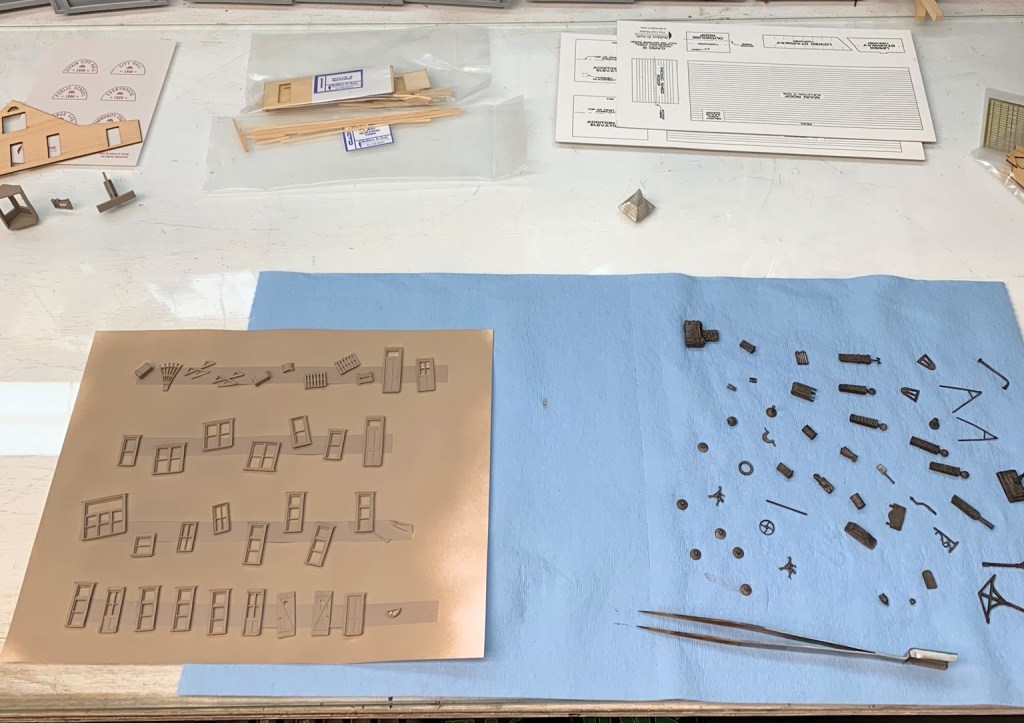
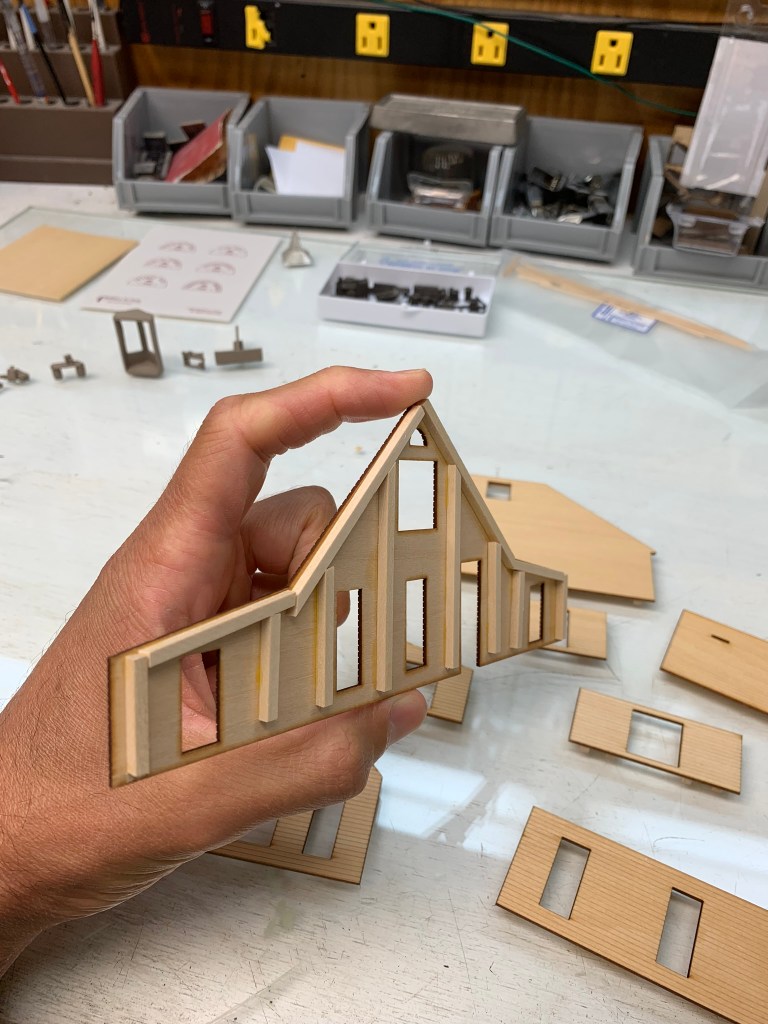
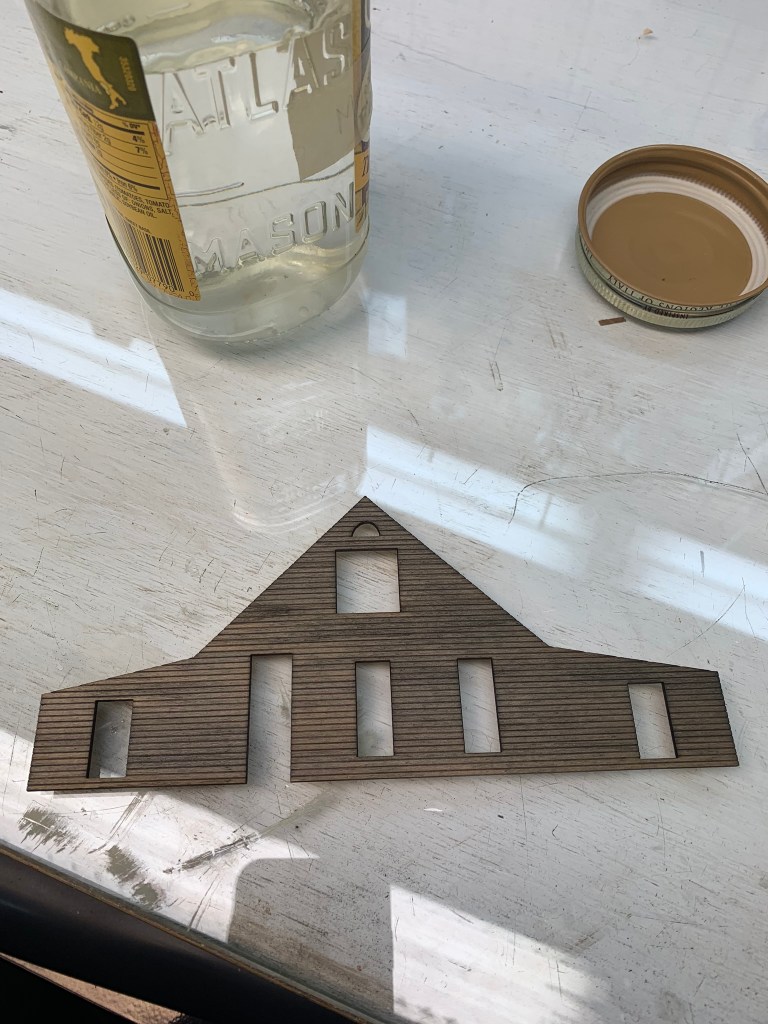
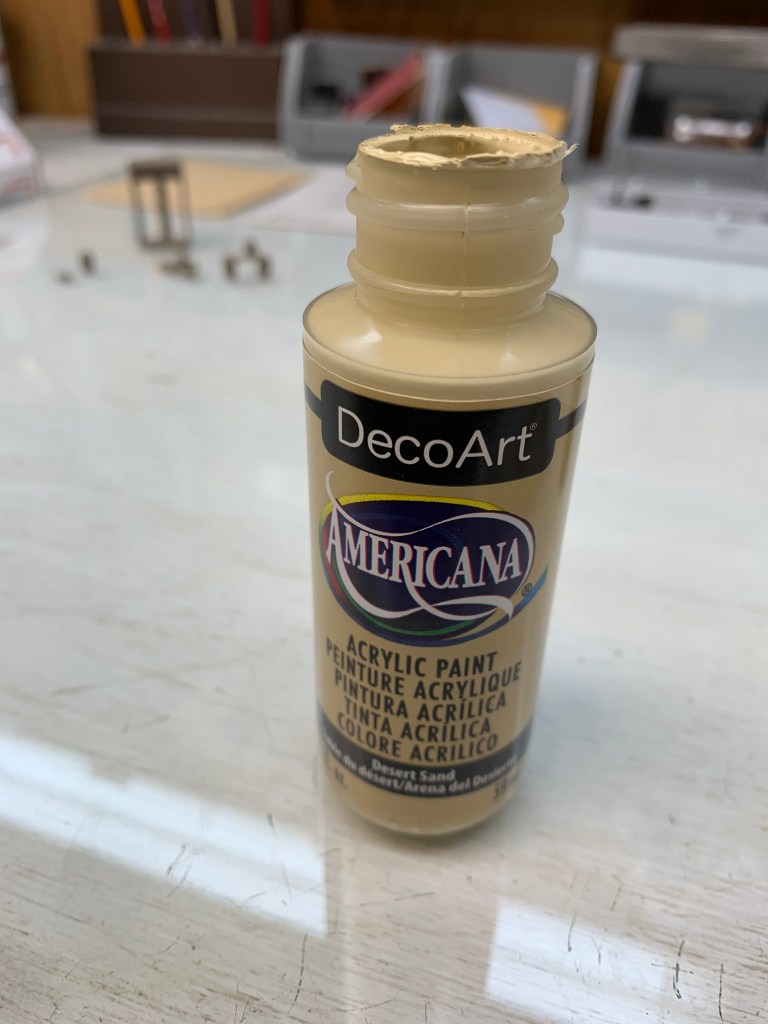
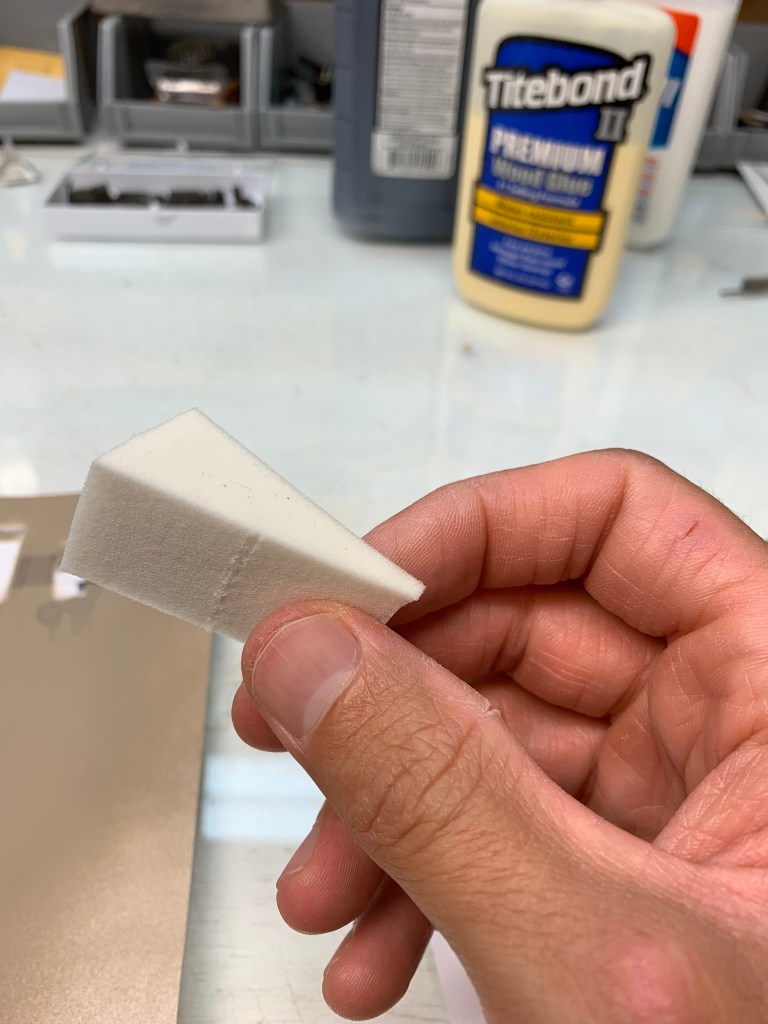
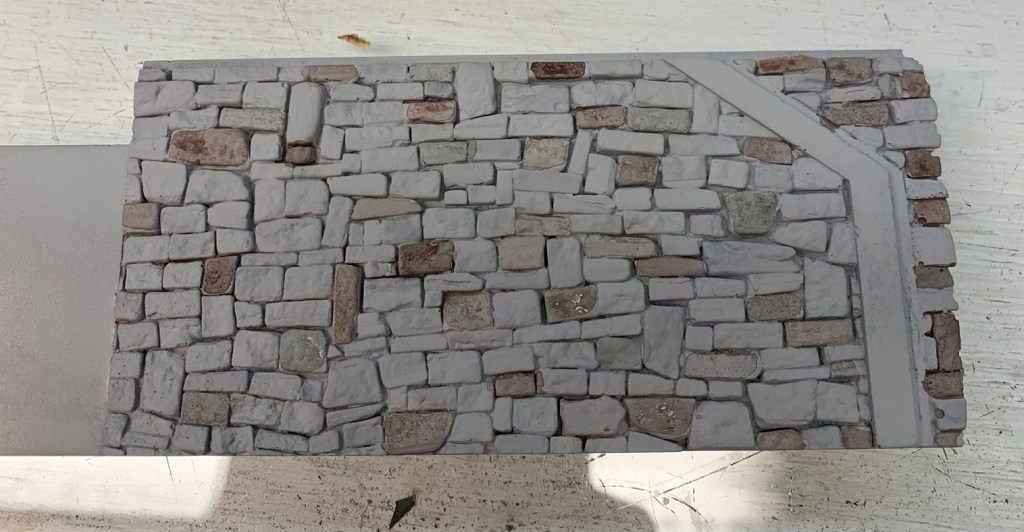
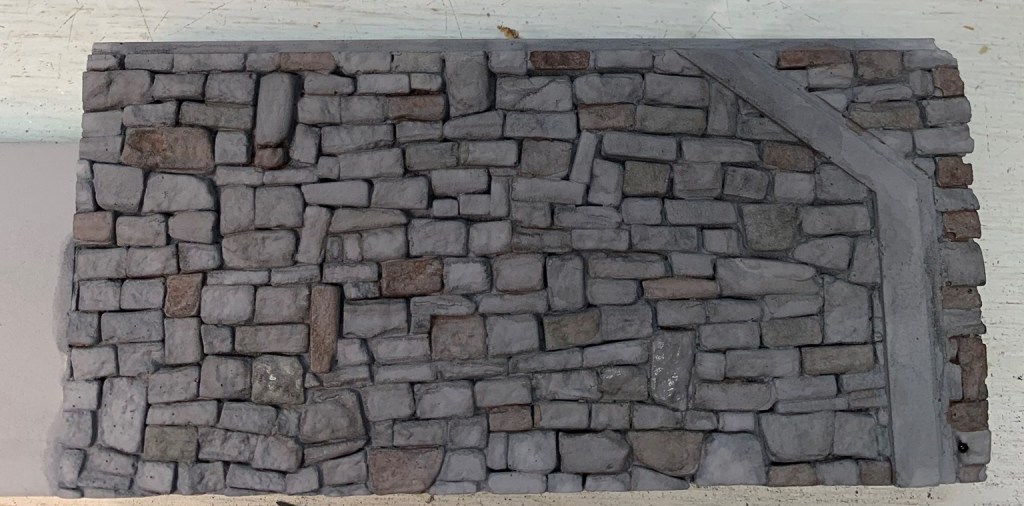
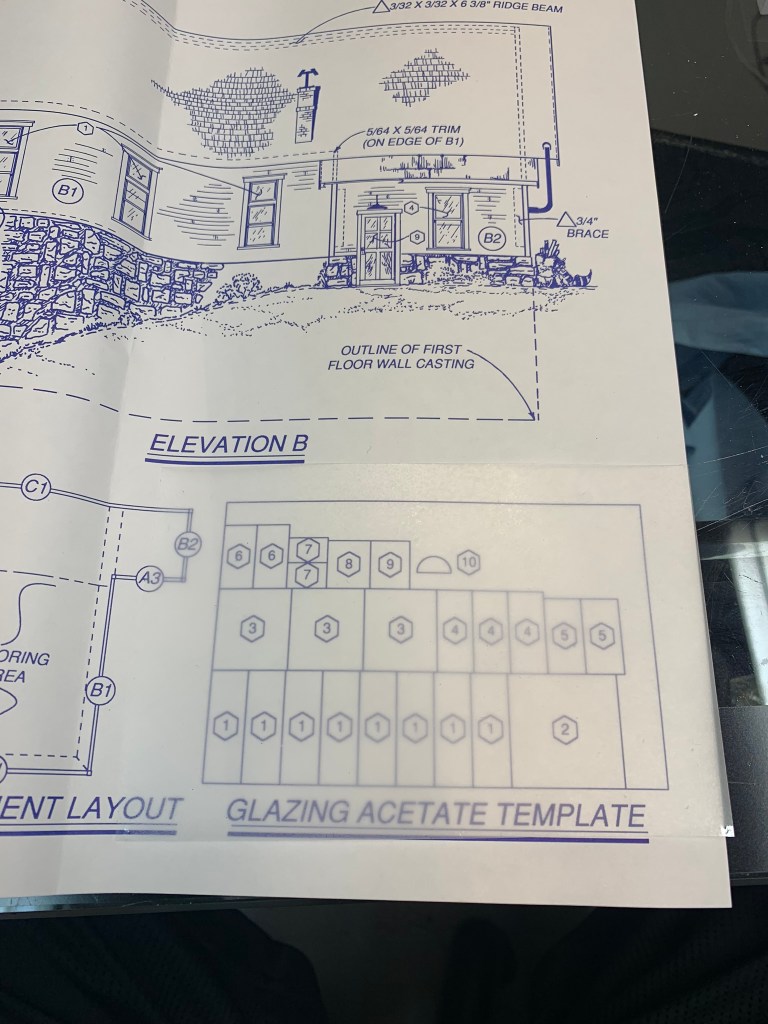
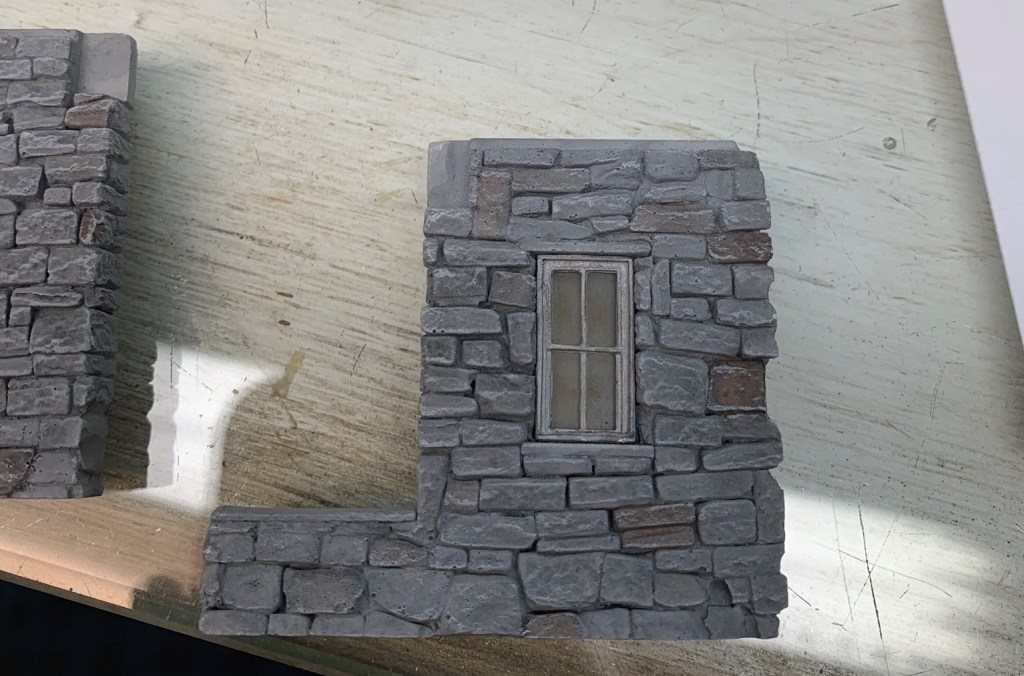
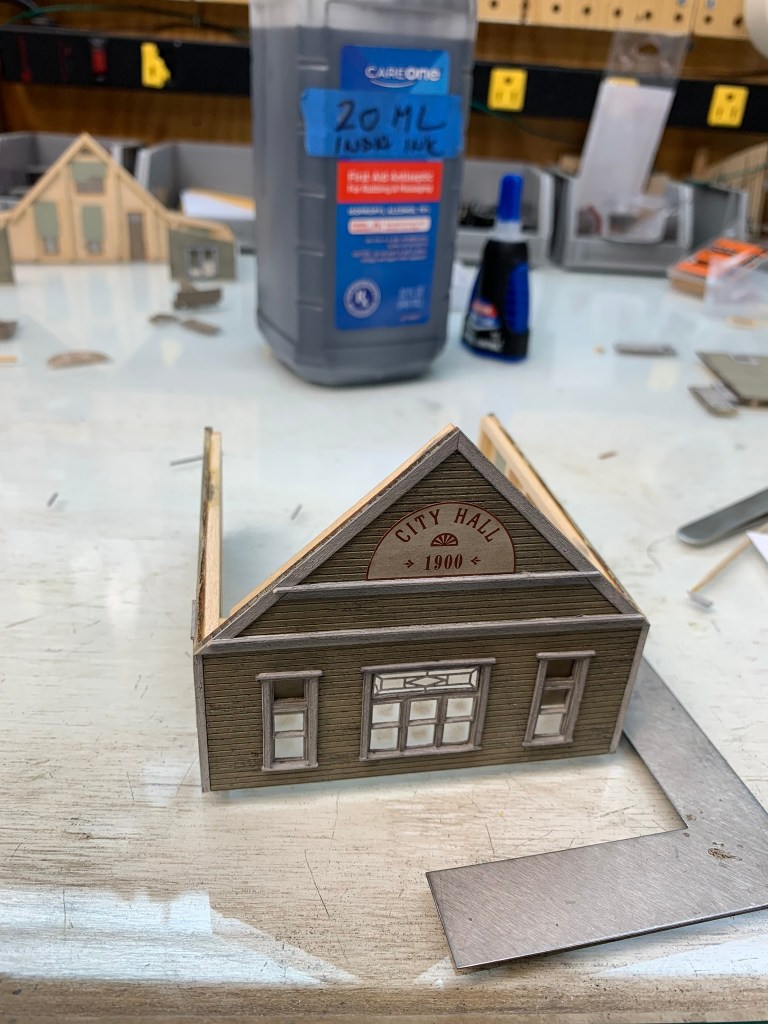
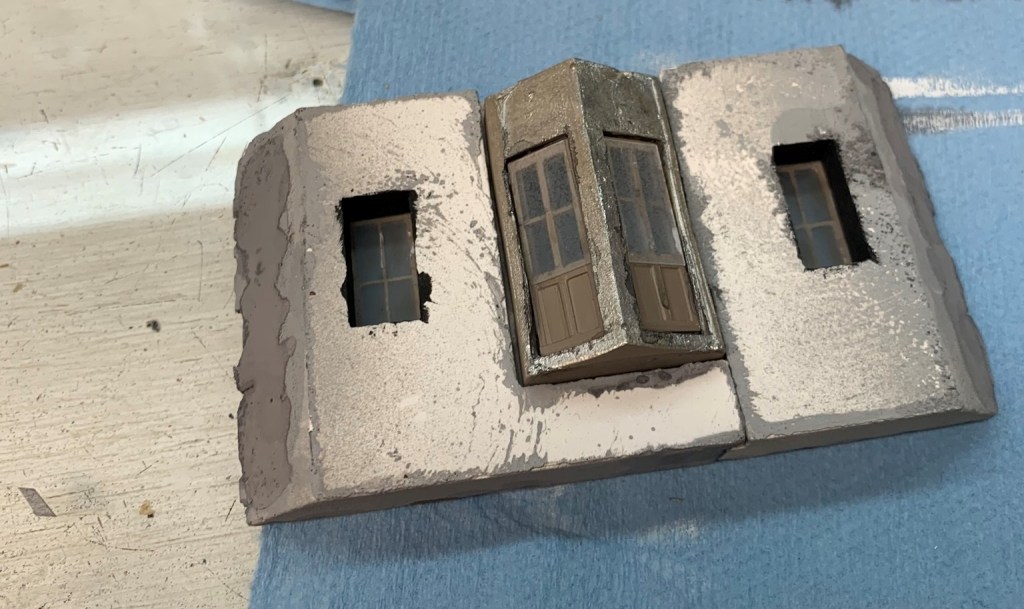
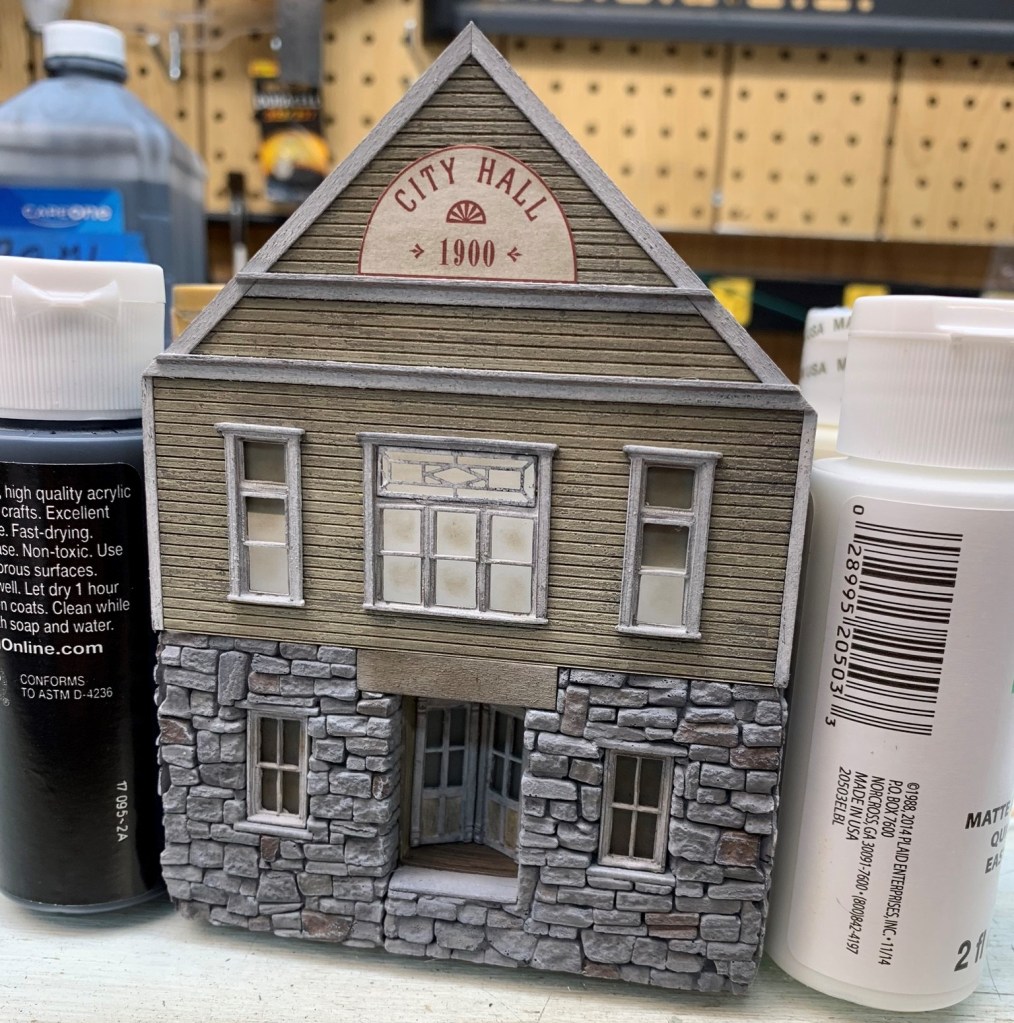
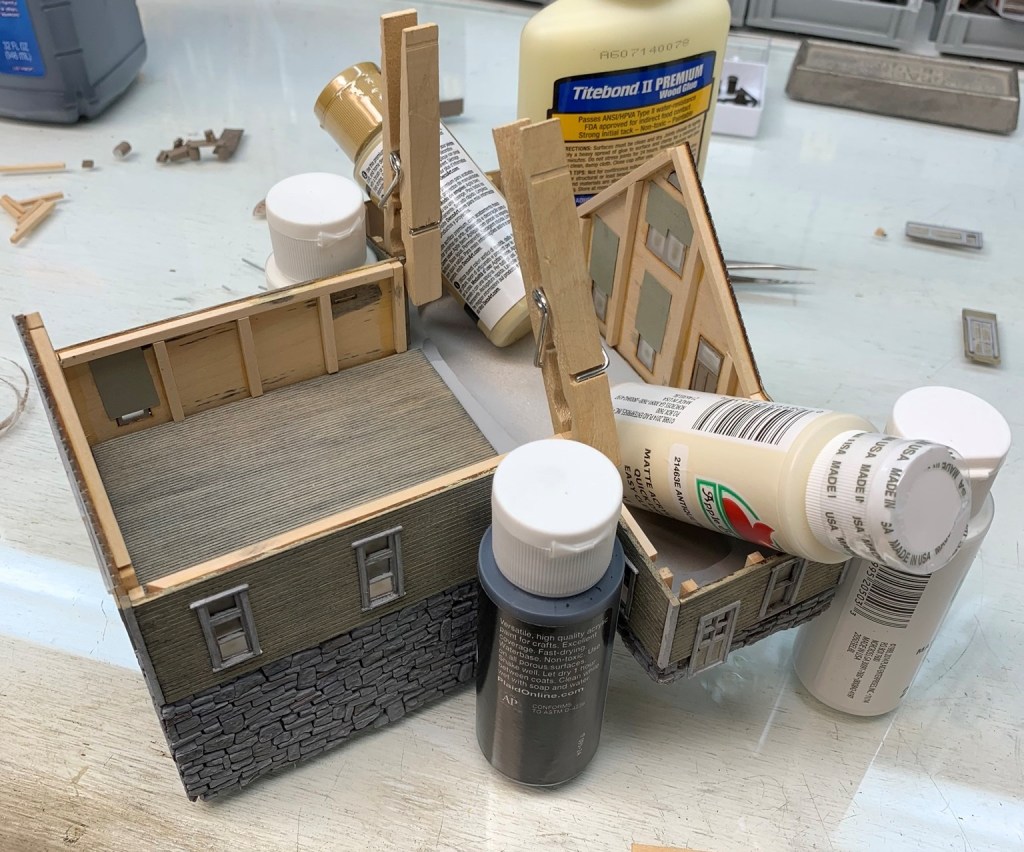
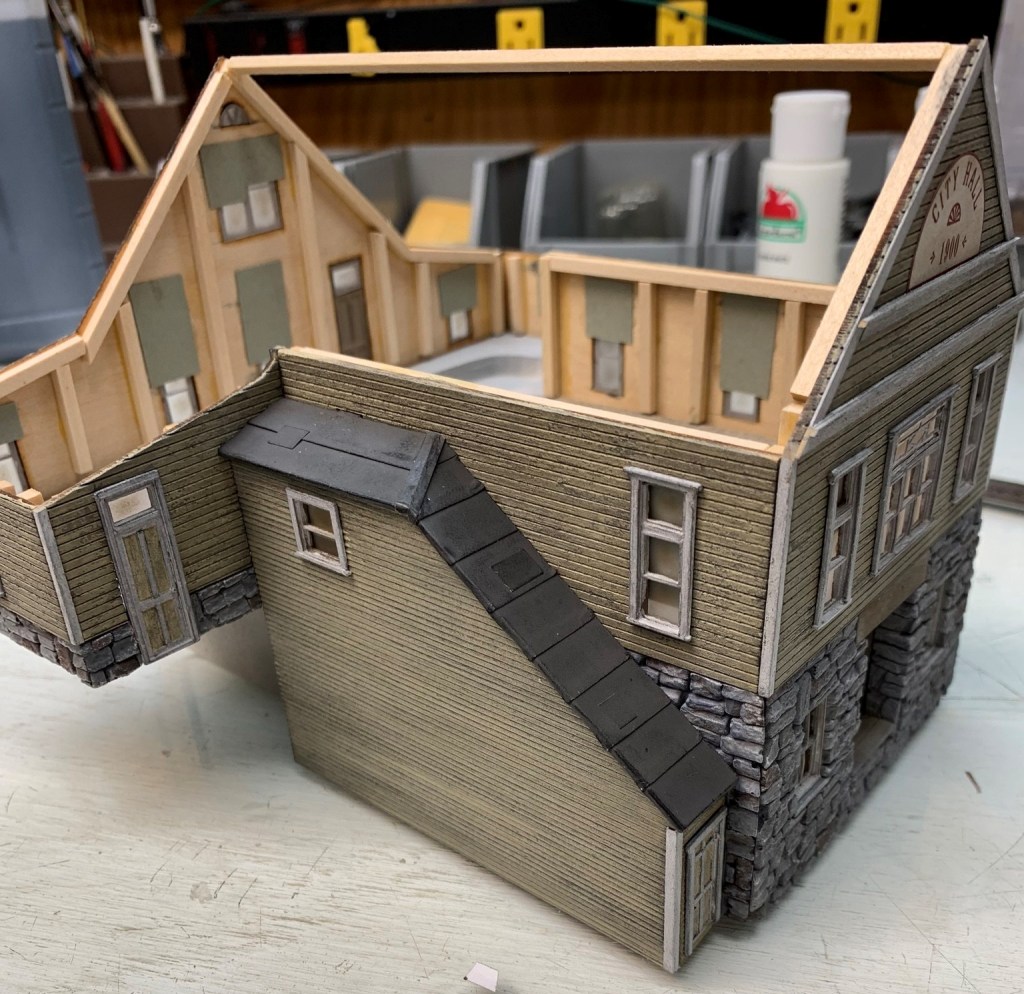
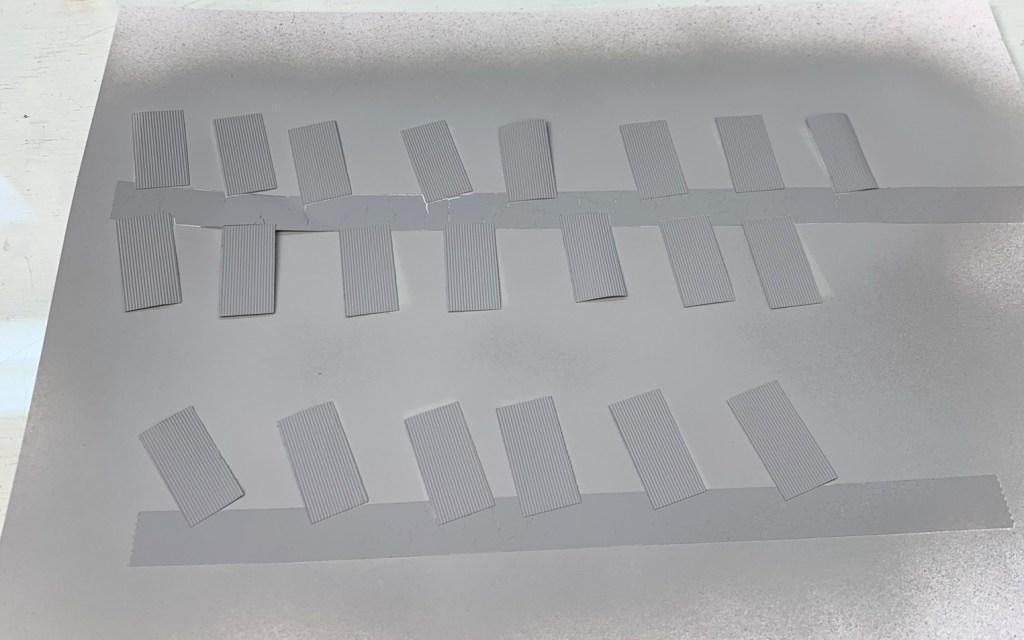
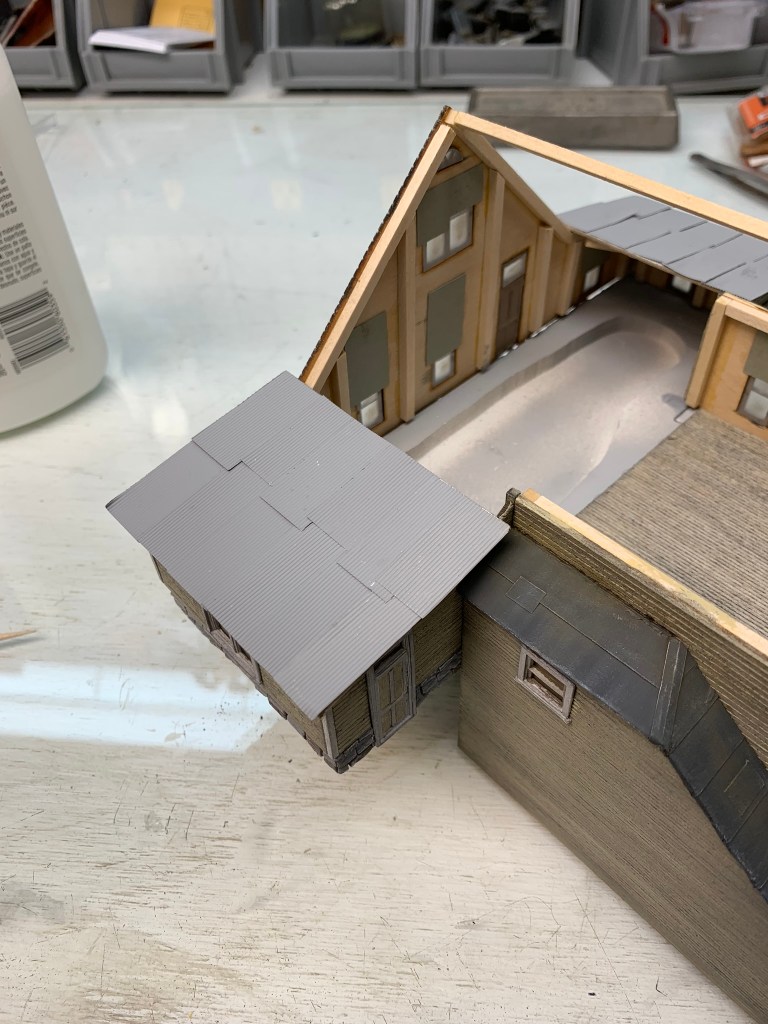
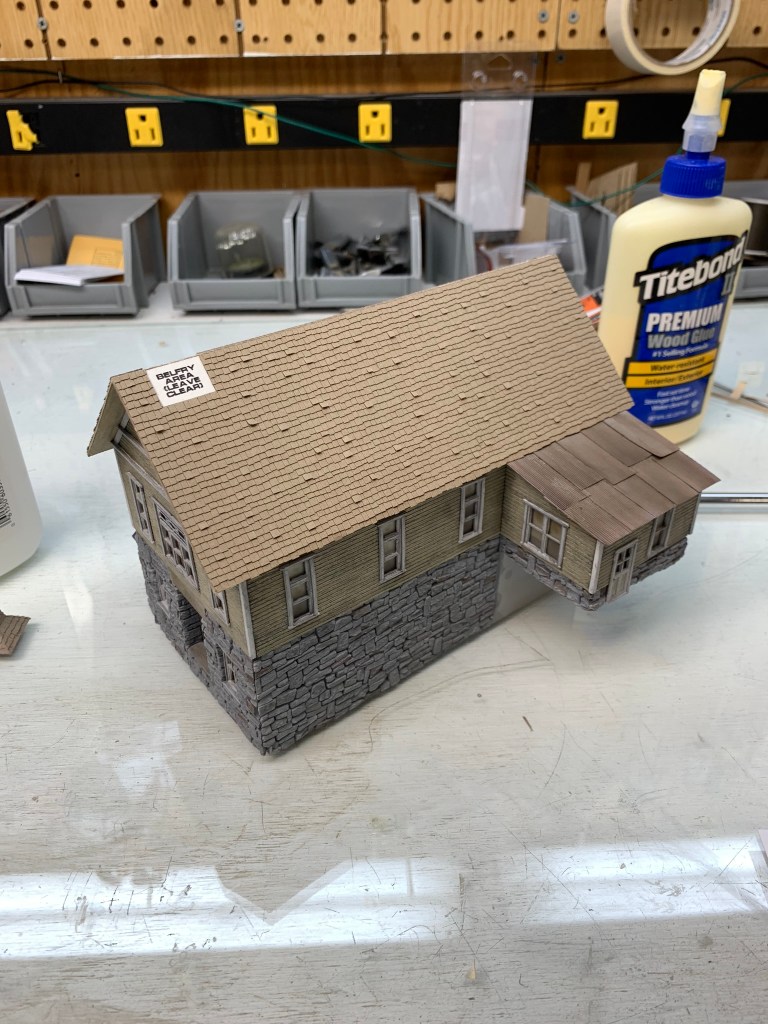
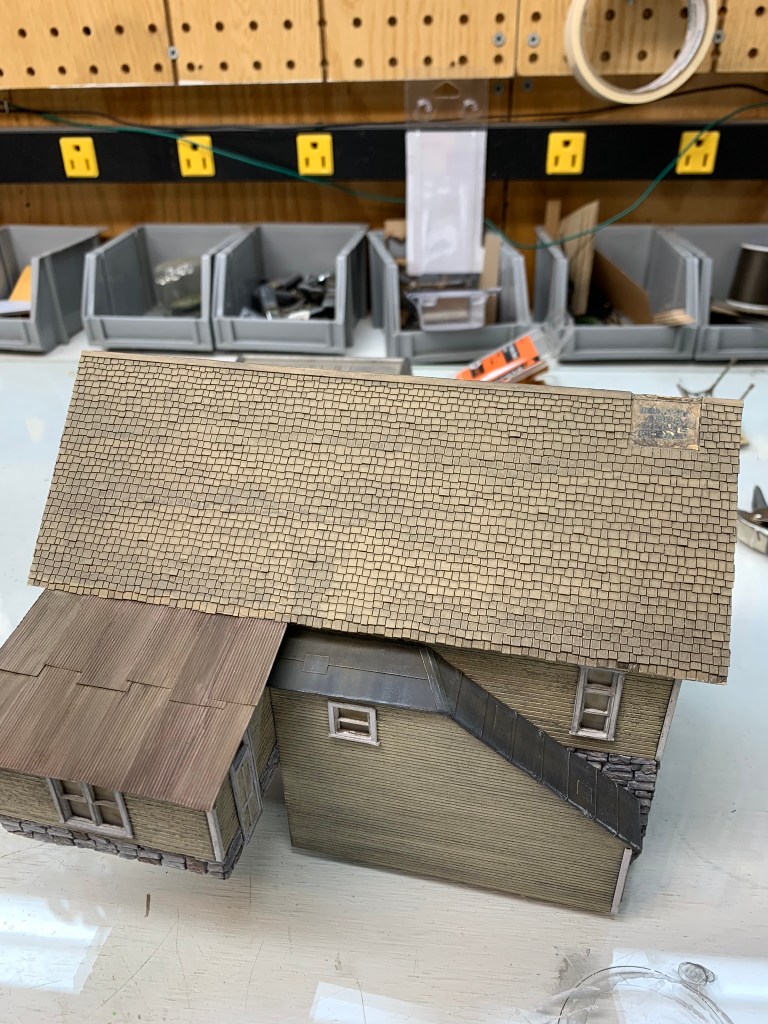
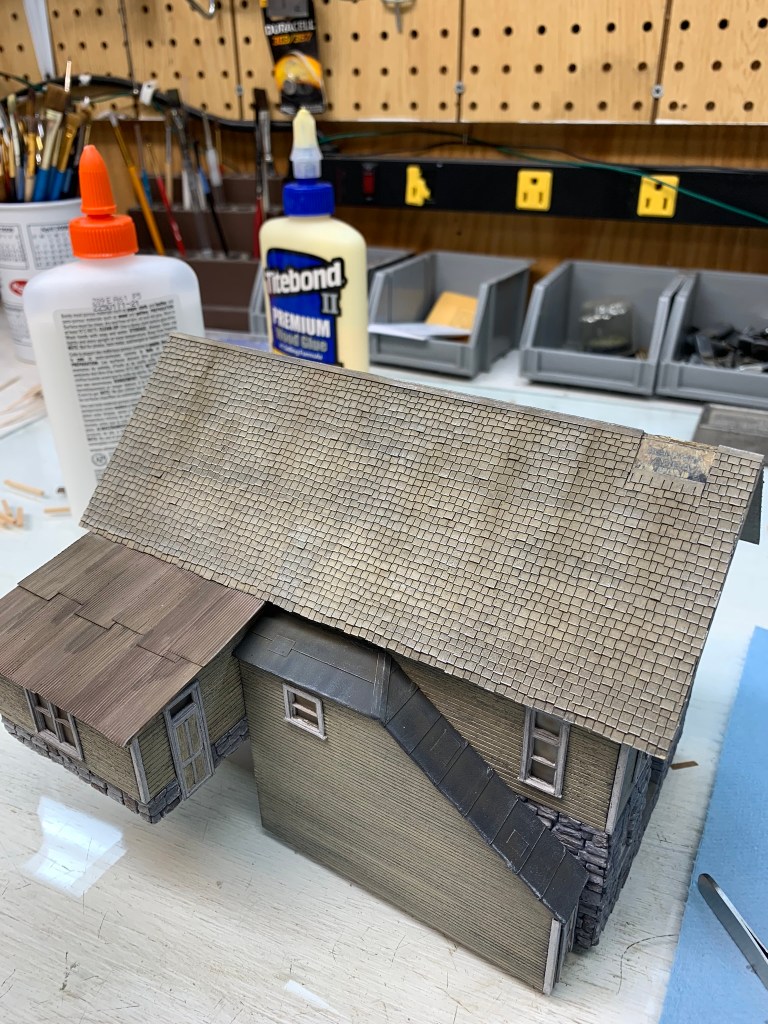
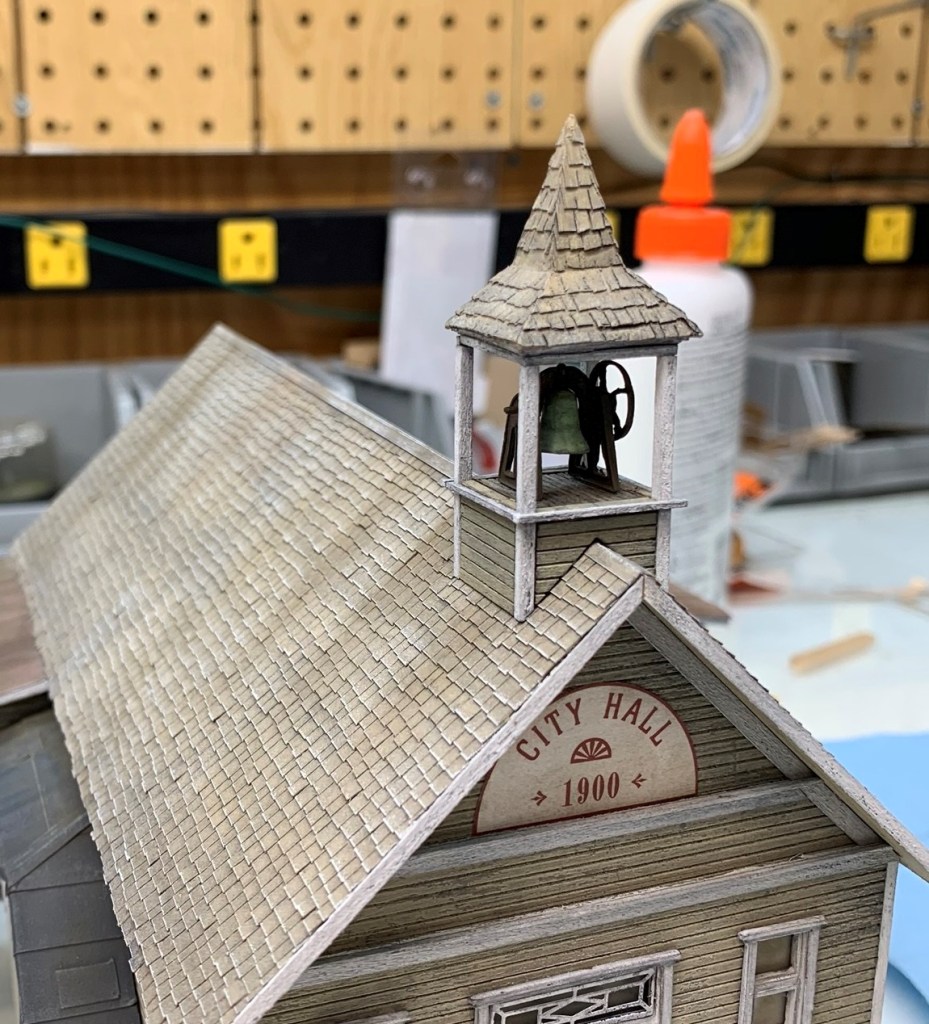
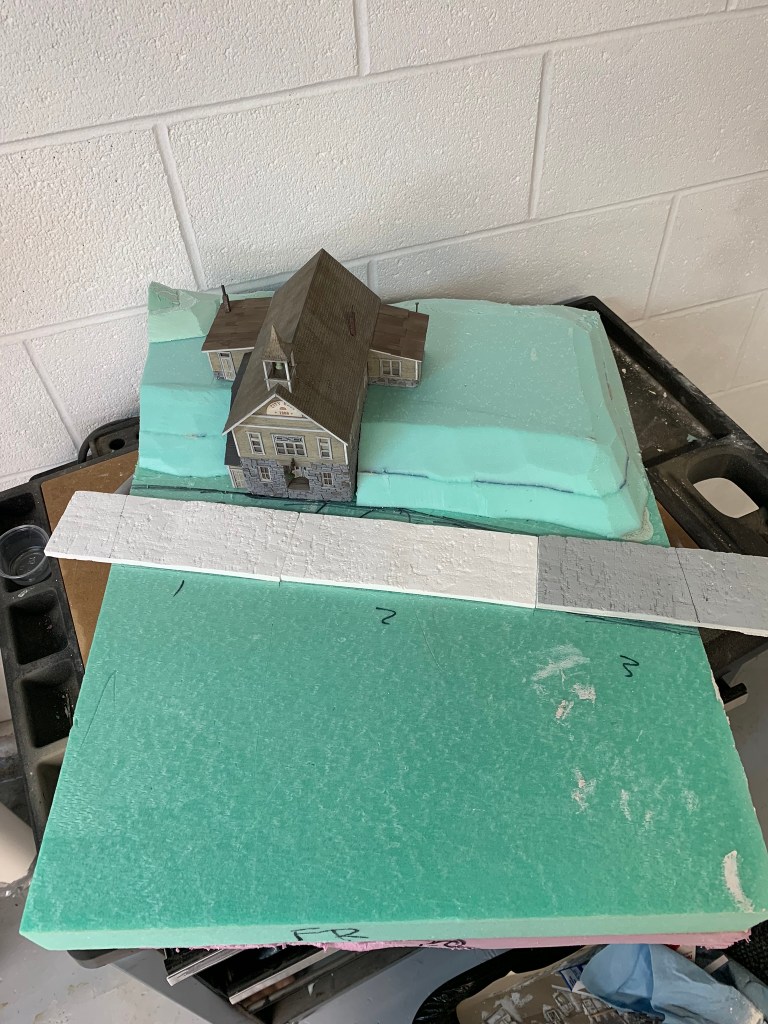
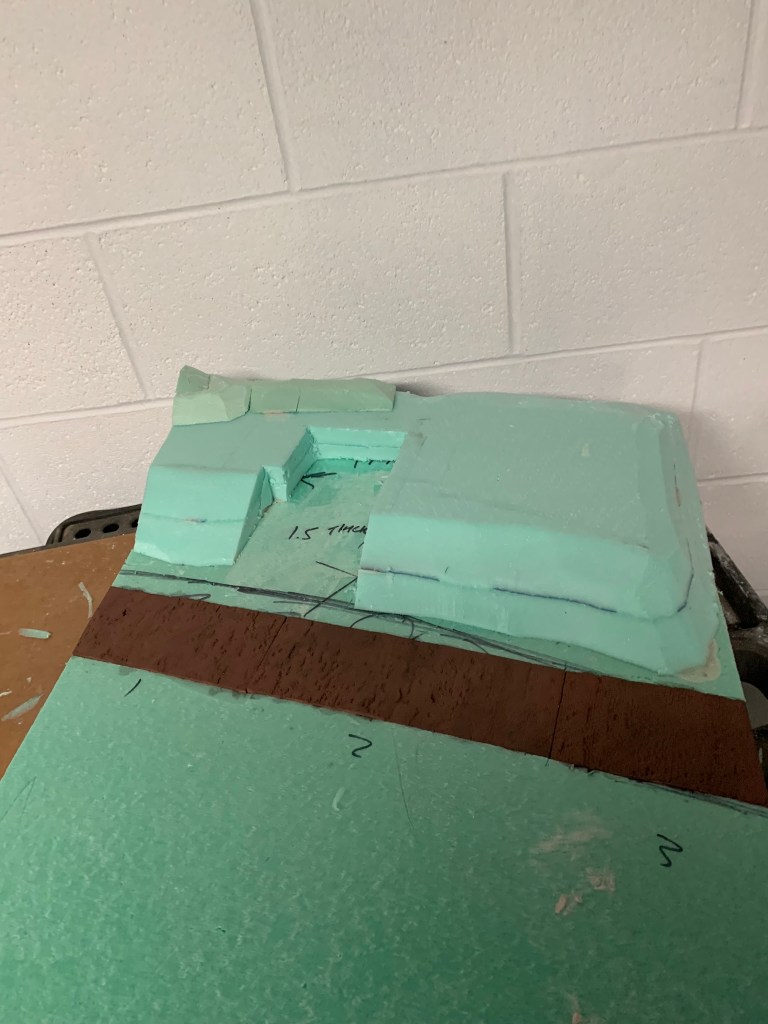
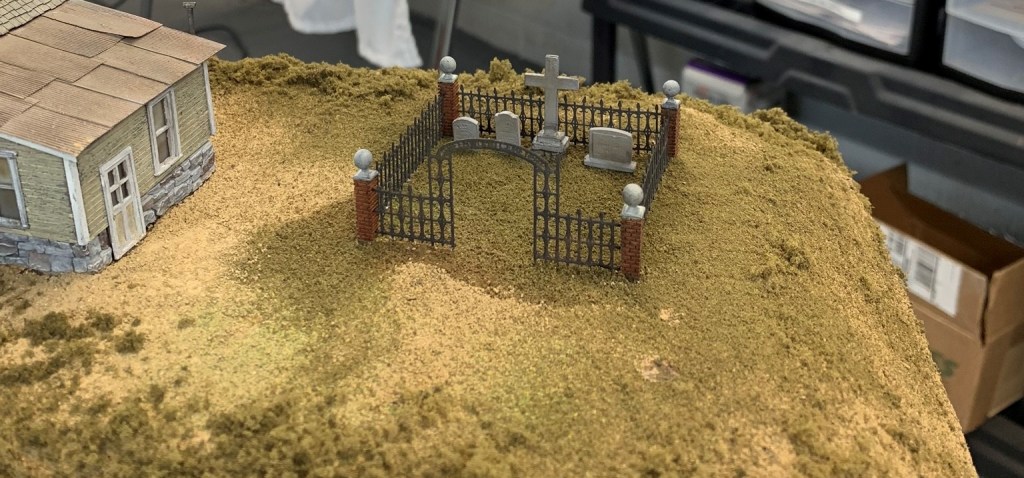
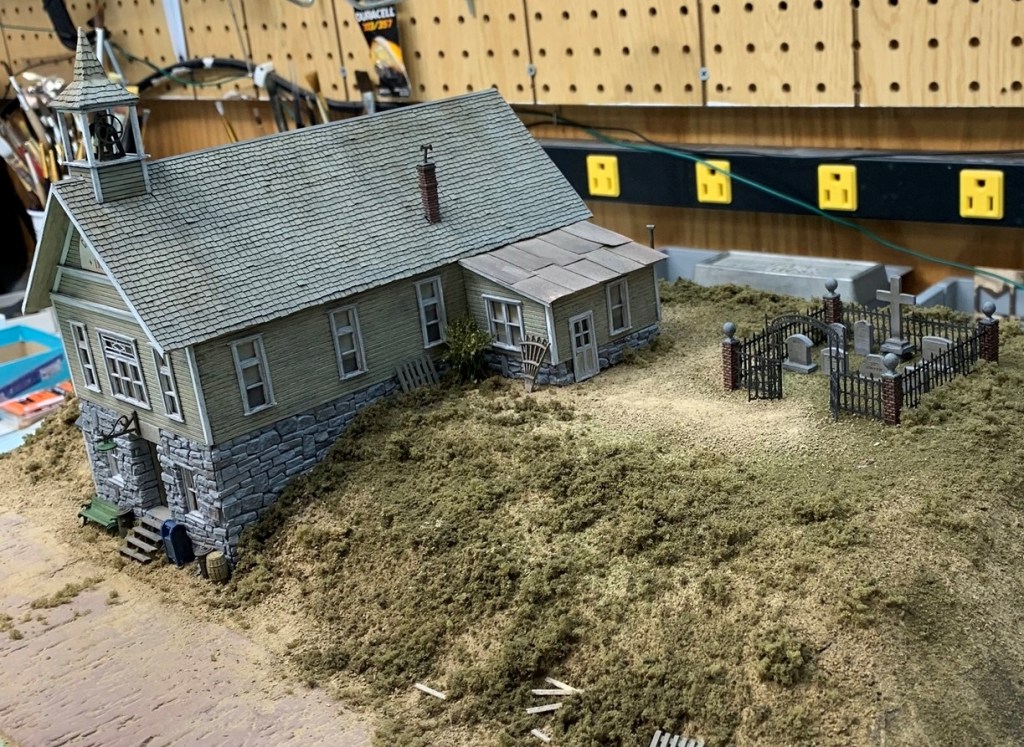
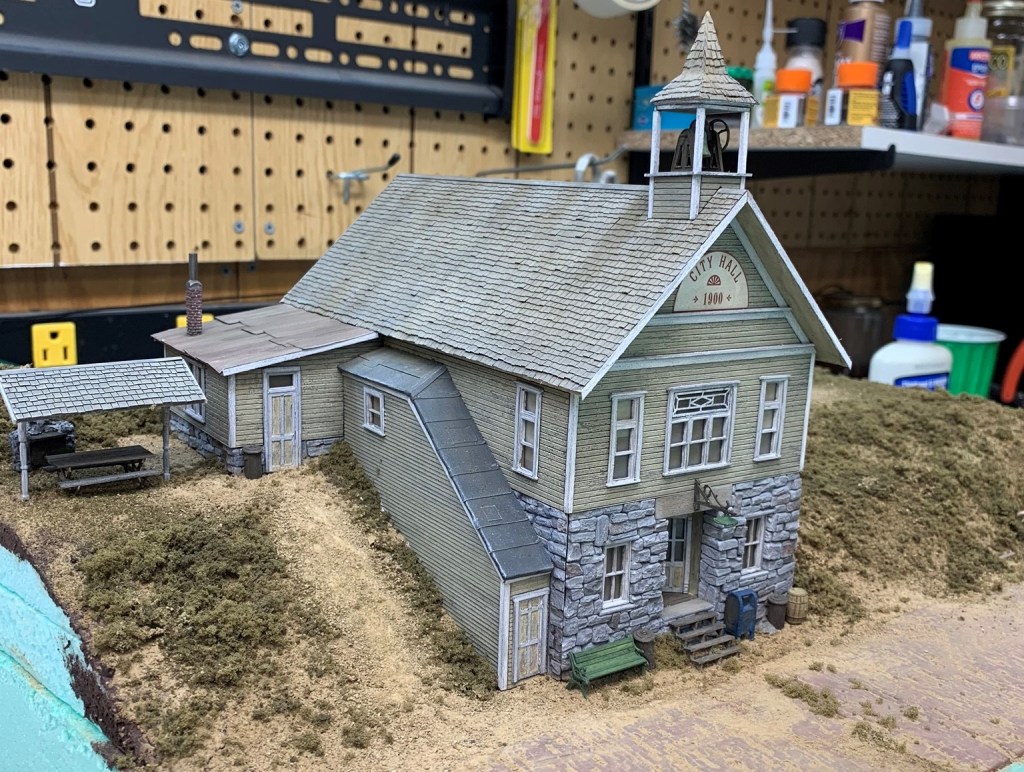
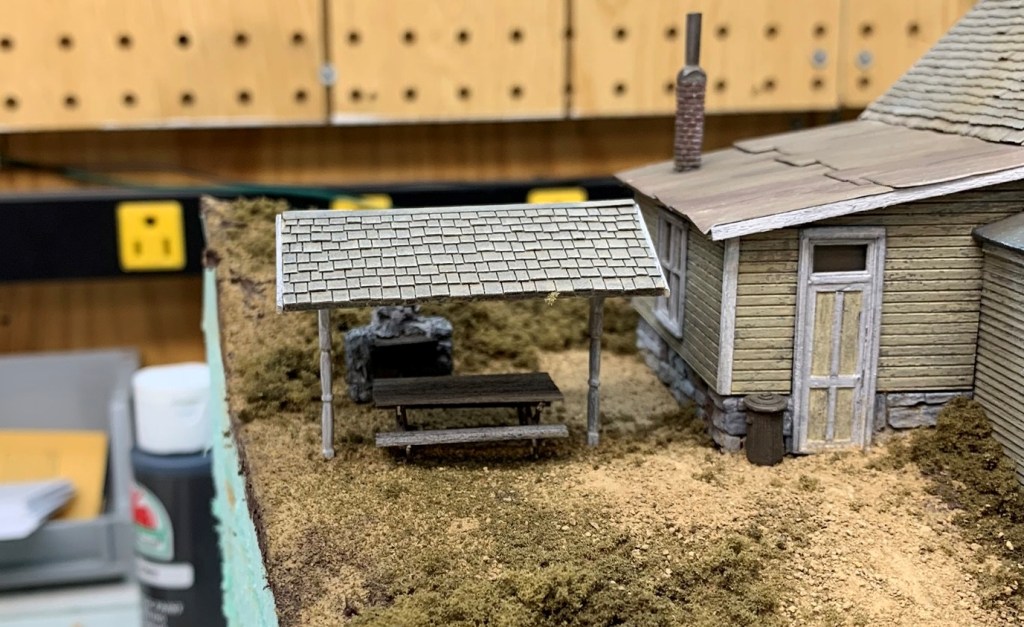
I wanted to build a small town city hall or a church and I’ve always liked this kit from Builders in Scale. I believe it was released in 1994. This is the first Builders in Scale kit I’ve built but I have used some of their building materials and detail parts before.First step in every build. I lay everything out to get a feel for the materials and how they go together. I sorted and prepped the castings. I was immediately impressed with the quality of the castings in this kit. Everything was crisp and clean with very little flash. The castings get either primed with khaki paint or blackened with Jax Pewter Black depending on if they represent metal or wood.I set out all the walls sections and started prepping them for coloring.The kit only came with minimal bracing and very little direction for where it should be added. I always make sure I brace my walls as much as possible. I usually use scale 10x10s. I left about 1/16th of an inch or more at the very bottom because of how the walls attach to the stone base.All of the walls get a base wash of A&I. I also roughed them up with a wire brush to add a little texture. It’s difficult to see in the photos but the siding is not clapboard. It’s milled to represent horizontal planks. The only wall section that is clapboard is on the top right for the enclosed staircase.Next step I wash the walls with straight mineral spirits. This stops the paint from adhering well to the wall for a peeling paint effect. It’s difficult to see in the photo but I put enough on so it looks damp. The pilot model has white walls but I feel like I have a bit too many white buildings in the same area on the layout so I decided on Americana Desert Sand.While the wall section is still damp I paint right over the mineral spirits. It’s important not to let it fully dry or it won’t peel properly.After the first coat dries I added a second. The paint peels off better if it’s thicker so I usually do 2 coats. The paint is still wet in this picture. I wasn’t super careful to get paint in the grooves between the boards.I used tape to pull some of the paint off after it was no longer visibly wet. I never let the paint fully cure overnight or it doesn’t come over very well. Any tape will do for pulling the paint off. The stickier the tape the more it will pull. I used clear box tape here.I wanted to darken up the paint a bit so I gave the walls a wash of A&I.Following the same methods all the walls are colored and set aside.For coloring the windows I use one of these makeup sponges. I bought a bag of 100 off Amazon for $8.00I tear the makeup sponge and use the rough side to dab paint on.I used Apple Barrel White for the doors and windows. I try to dab paint on but leave a few little spots bare.After a wash of A&I I installed the windows in the walls.I primed the stone base using some light gray Krylon automotive primer.I painted a few of the stones with some random grays and browns. I added a few coats of A&I to blend everything and highlight the cracks.Next step was some light drybrushing with an off-white color. I used Apple Barrel Parchment but any off-white will do.They included a template to cut the acetate to size for the windows. I find that to do be one of the more tedious jobs and this is a clever way to make it easier.I made a copy of my template before I started cutting on it. I sprayed dullcoat on both sides of the acetate before I started cutting it out.I added acetate to the back of the lower front stone wall windows before I glued them in place. I also dirtied up the windows with some Rembrandt 408.3 Raw Umber chalk. That’s my favorite color for making things dirty but not rusty.I added the corner trim, the window glass and some curtains to all the walls then I glued them together. I treated the walls as 2 separate sections. This rear will be one assembly and the front will be another.I added the trim and the front sign to the front wall.I glued the front 3 walls together. This is the other assembly I was referring to. I let this and the rear section dry before I moved forward. I wanted the second floor to be assembled so I can use it to make sure I’ll get a good fit with the stone base. The front wall alcove get glued into the front stone wall. Its a 1 piece casting with 2 doors installed into it. The front wall is 2 pieces you can see the seam on the bottom where it’s glued together.This is the other side of the front stone wall. The header piece above the door is just a piece of wood painted light gray and dirtied with chalks.I started gluing the first floor stone walls together. I used the completed 2nd floor assemblies to make sure everything fit together before the glue set. The 2nd floor wood flooring is also being glued in this photo.So far everything in this kit fits together almost perfectly. The stone base is a little unusual in it’s design. It has 3 stone walls and then a piece that lays across the top for the base of the 2 side walls.I glued the front section to the stone base. The paint bottles are just keeping it from shifting.Here’s a better shot.Next I glued the rear section. Due to the unusual shape I had to get a little creative weighing and clamping everything to get it all together tight. Overhead shot of the floor and how the walls come together.Next I added the enclosed staircase. The stone casting has a guide for the roofing and the 2nd floor wall has a little slot that the upper portion of the roofing fits into.I added the rolled roofing, primed it and glued it in place. I still need to color it. This is just the base primer.Next step is cutting and priming the metal roofing. I cut these into about 4 HO scale ft lengths.I glued the roof panels to the roof card and glued the card in place. The other side is the same.I weathered the panels using rust colored chalk powders mixed with rubbing alcohol to make a wash. I use this method if I want the panels to be rusted but not chewed up and falling apart. I would use PCB etchant if I wanted a more weathered roof.I shingled the main roof using BEST random cedar shakes. The kit came with Campbells shingles but I chose not to use them.I painted the roof with Apple Barrel Khaki first. I also painted the lower tarpaper roof with Apple Barrel Pavement and weathered it with some drybrushing and chalks.Next step was a wash of Apple Barrel Pavement thinned with water. I added some off-white drybrushing and some random chalks to give the roof some character. I built the bell for the belfry. I blackened the 5 castings first, then I weathered everything but the bell with chalk powders and alcohol. The bell was colored with a mix of Kelly Green and White followed by A&I.Here is the bell installed in the lower portion of the belfry.The belfry is assembled. The roof is a 1 piece casting. I painted it the same as the rest of the roof.The belfry is installed on the roof.I started working on the base for the scene. I prefer foam for all my structure bases. I used 2 pieces of 3/4 foam to make the 1 1/2″ height to match the height of the rear of the structure.I carve the foam with a cheap snap-blade utility knife. This scene will be removable on the layout so I decided to use cobblestone for the street. These castings are from Downtown Deco. I haven’t seen them for sale on the Downtown Deco website though. I bought them from Randy off Ebay. They come in 40 scale ft width so I cut them in half. I cut the pieces down and primed them with orange automotive primer. I cut a groove in the diorama base so I can set the road at the same level as the lowest point.I painted everything past the road with brown craft paint and added my ground cover. It’s still wet in this picture so it should lighten up a bit.Next I started putting together the little cemetery. The fence is etched brass and the brick pillars are white metal. I spray the fence with dark gray primer to color it.I started adding the graves. The kit came with 2 white metal graves and a few etched brass ones but I chose to use these from Woodland Scenics I had in my details box.I installed this little grill, picnic table and gazebo scene.For the most part the building is done. Ill do some more detailing once I install it on the layout.