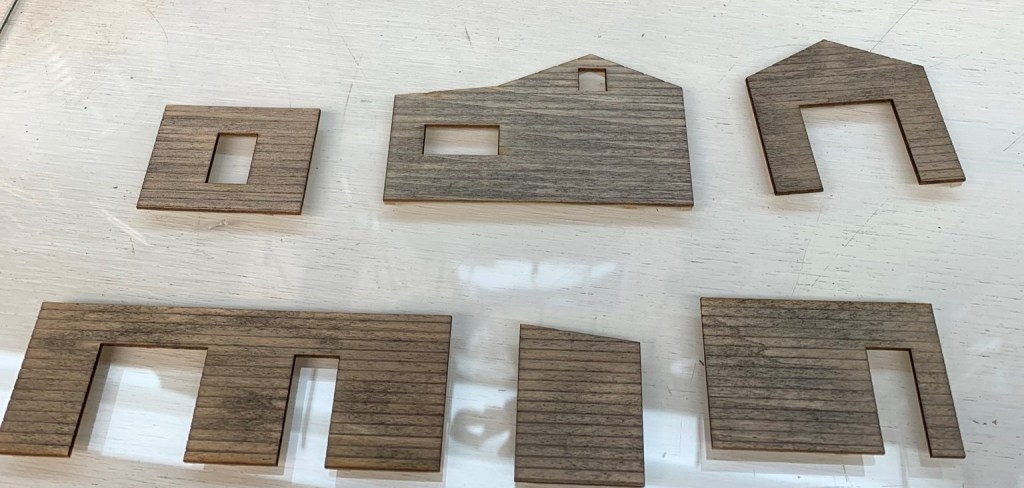
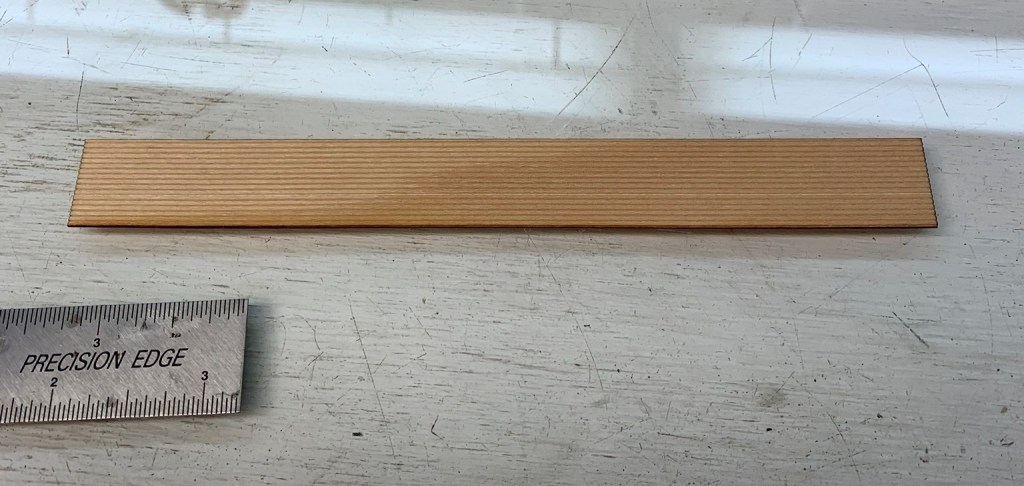
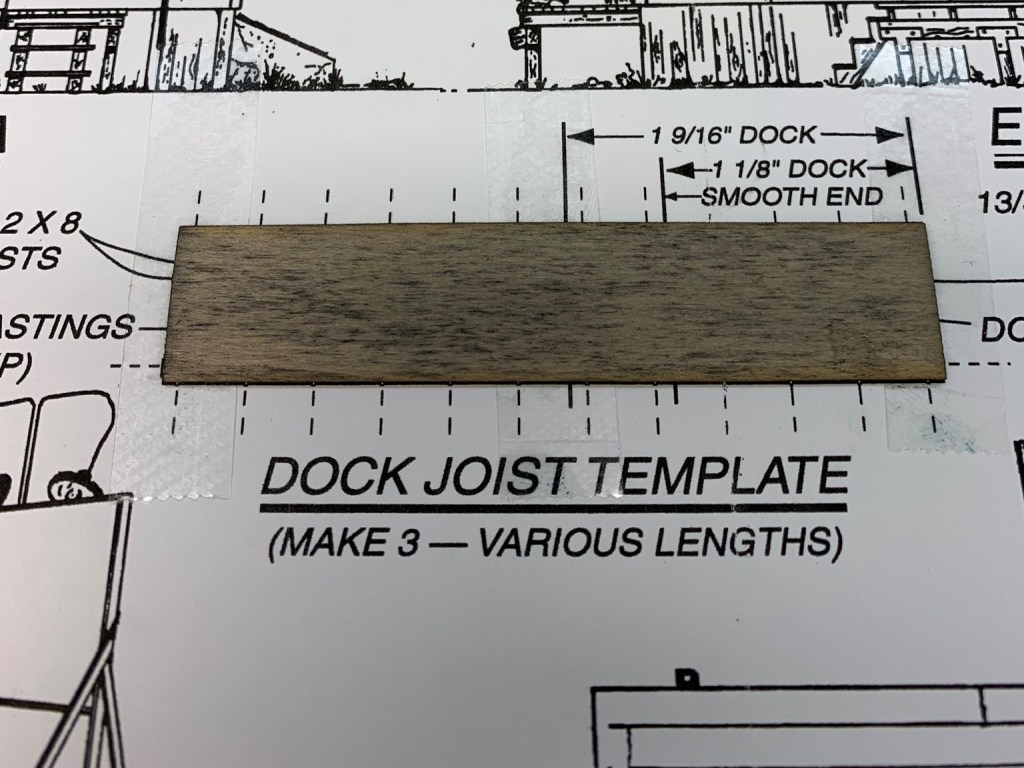
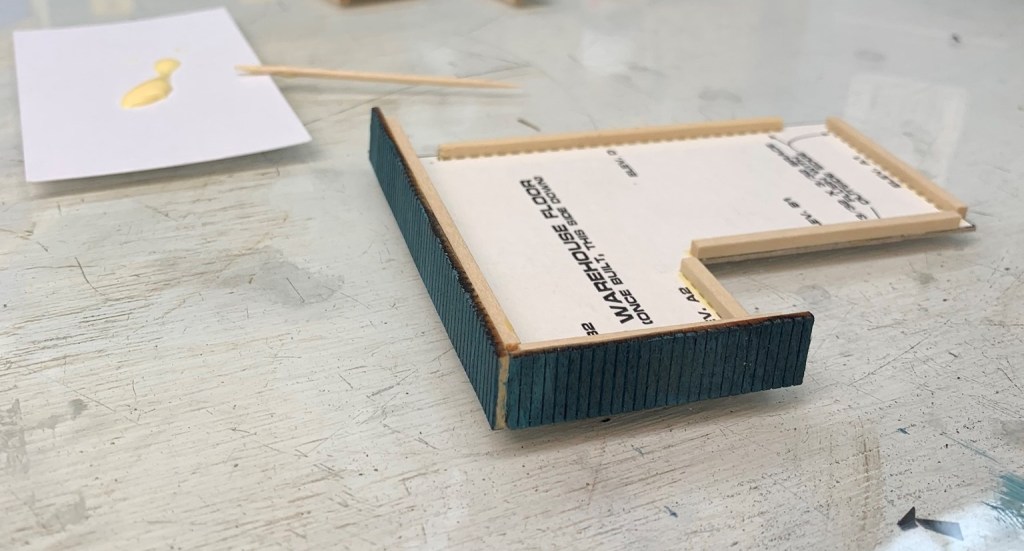
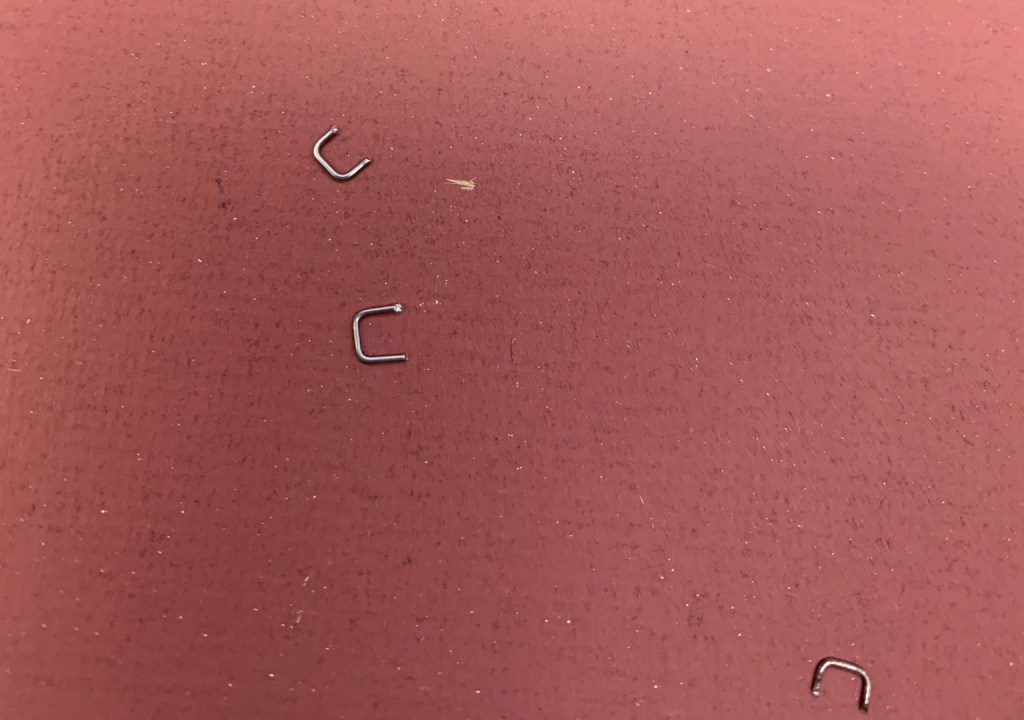
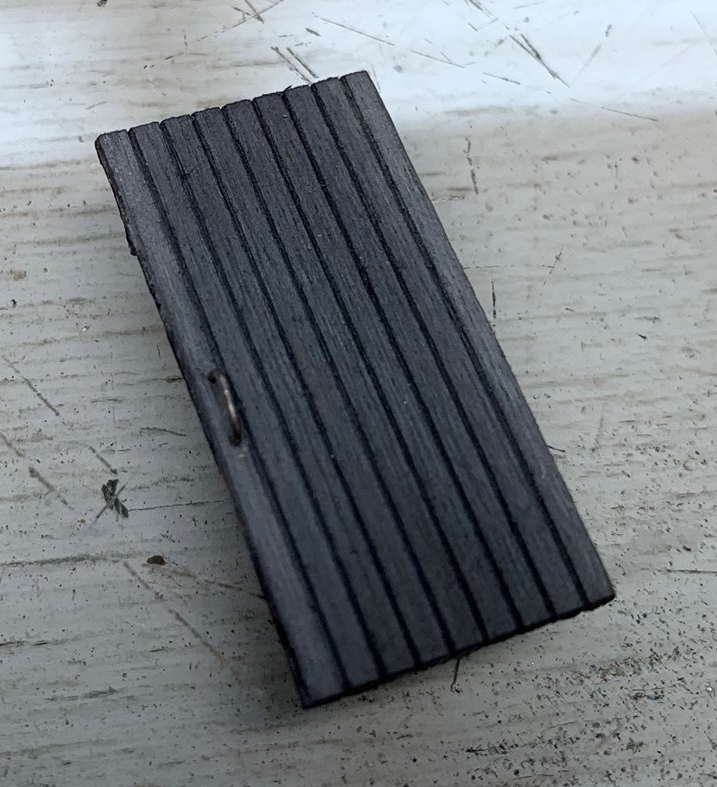
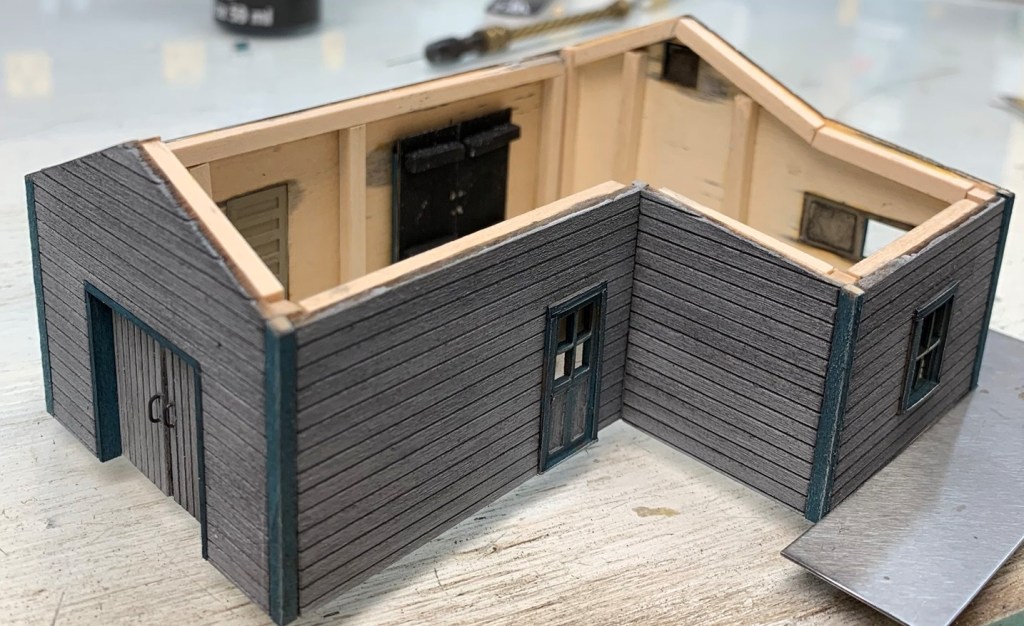
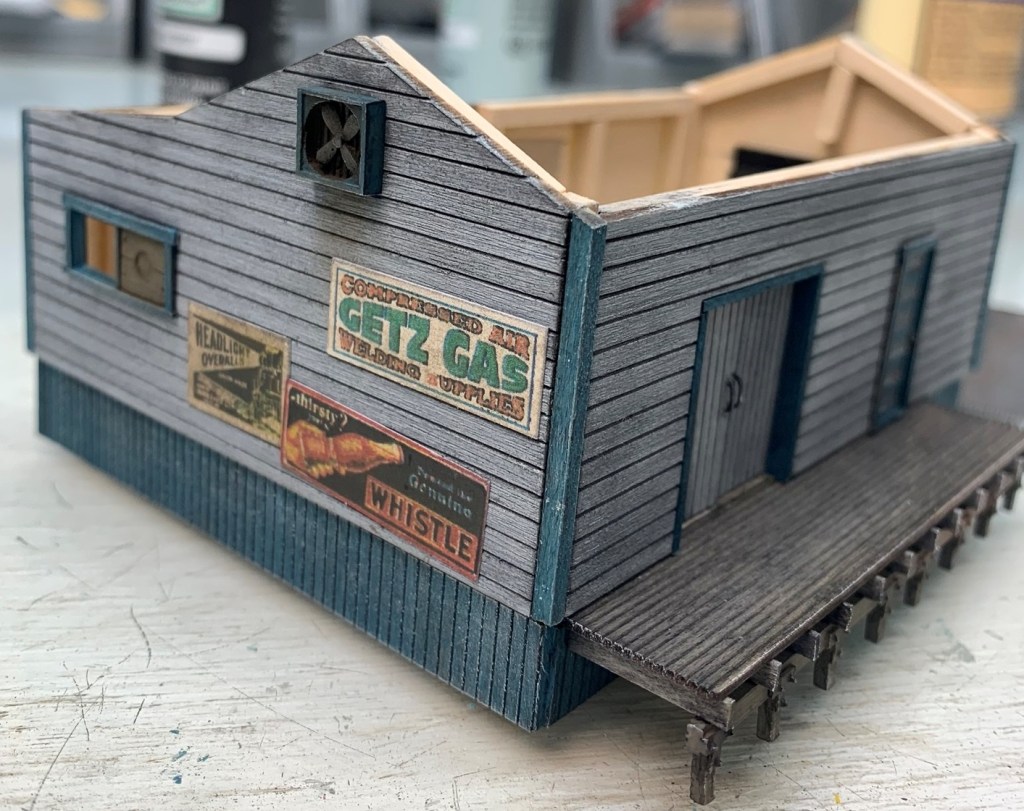
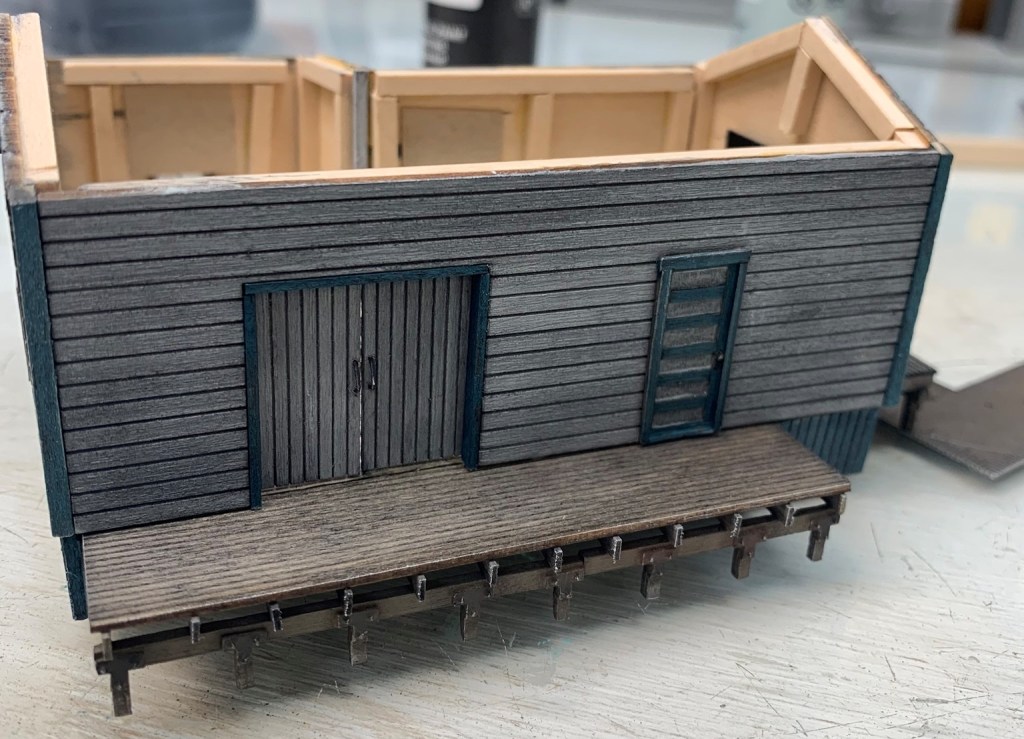
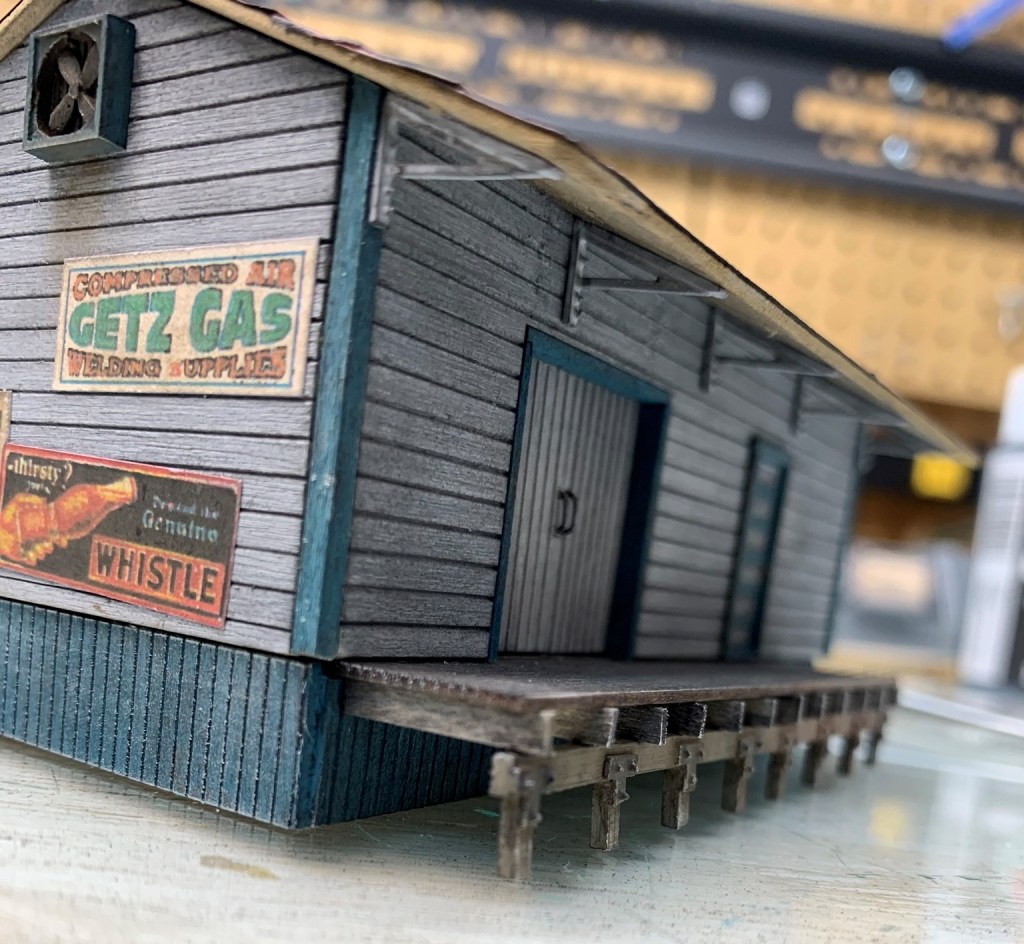
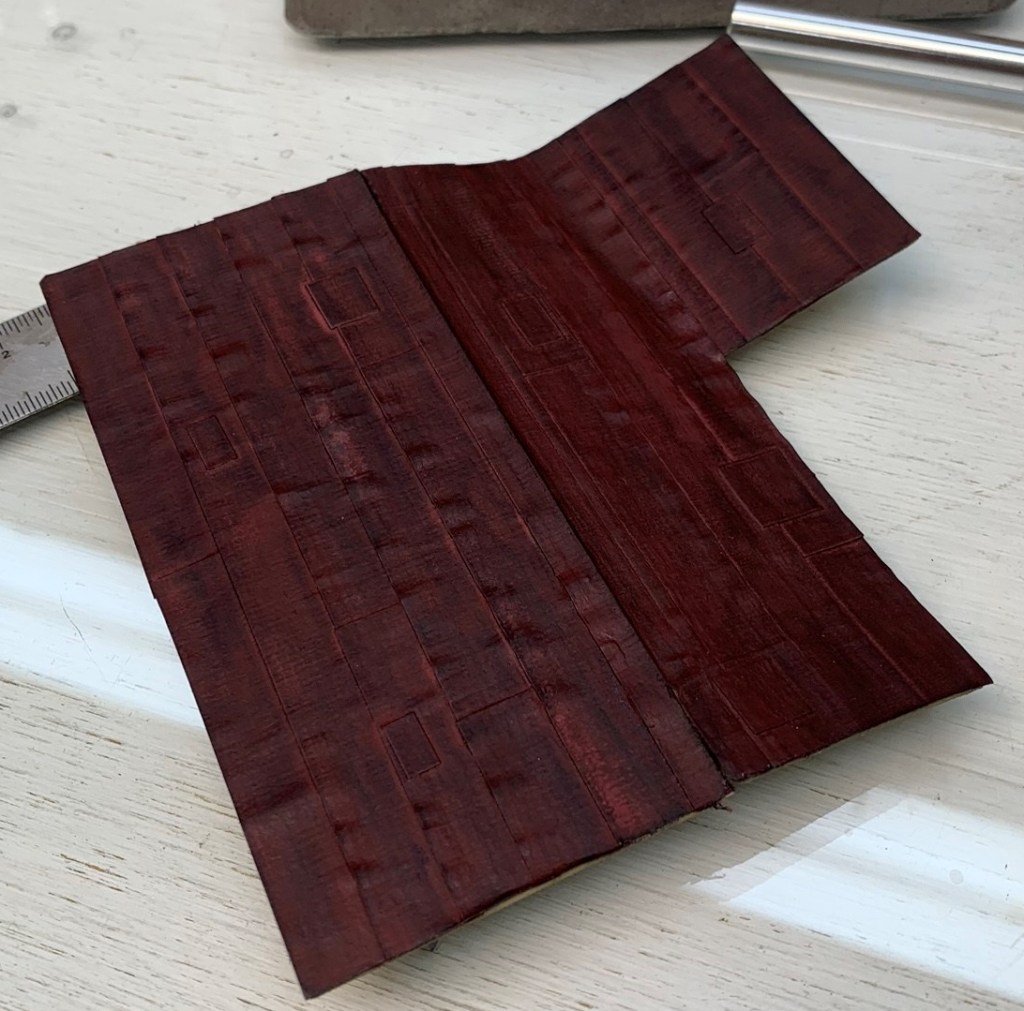
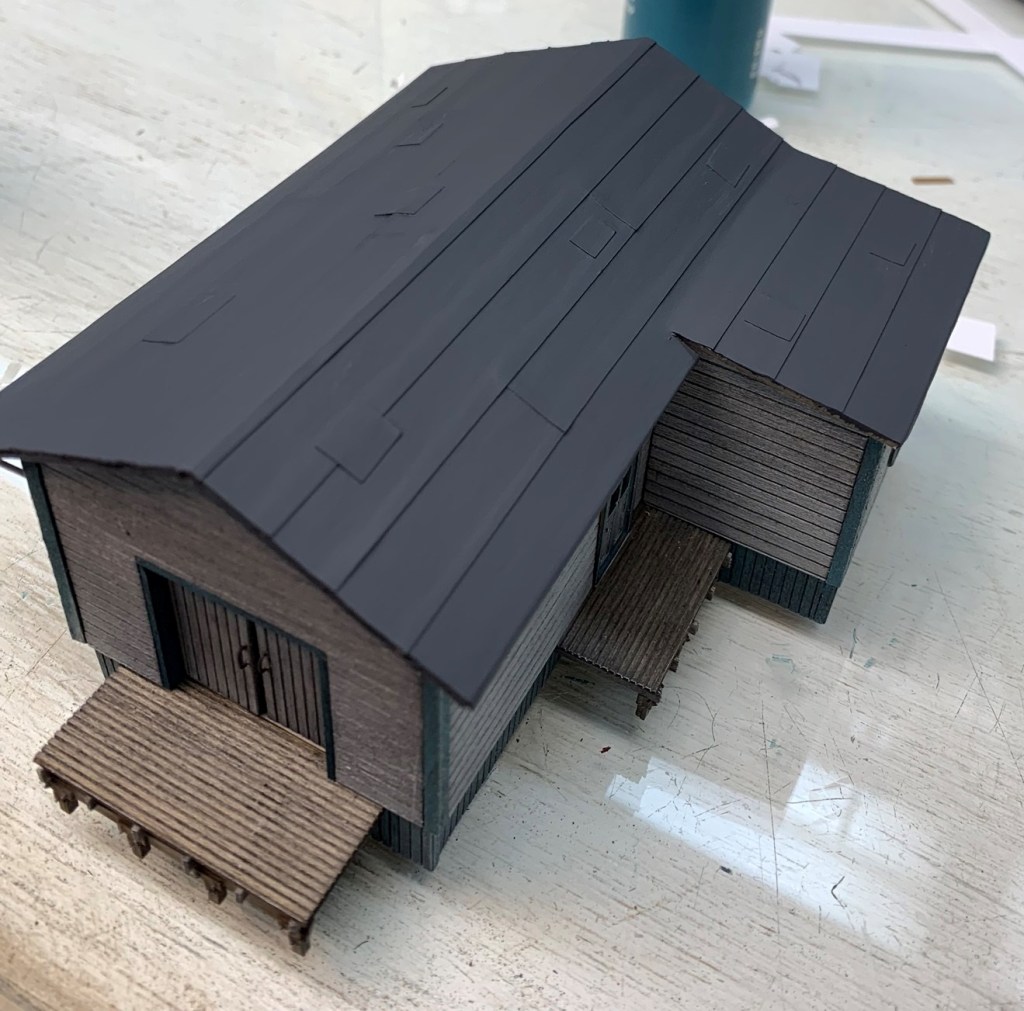
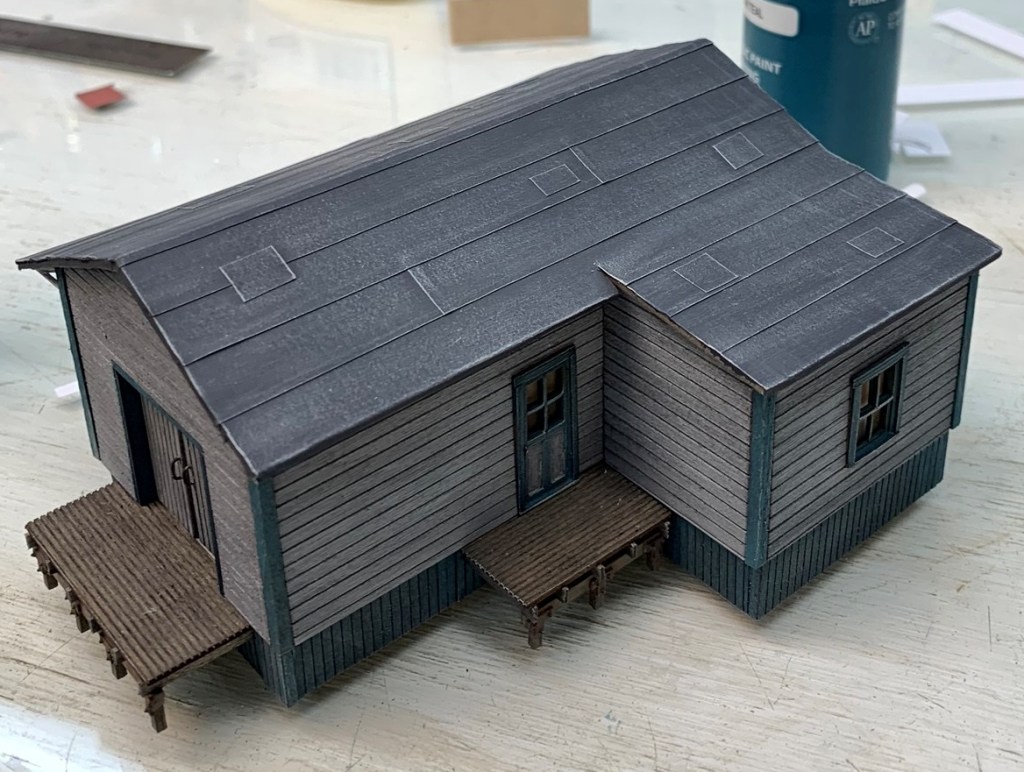
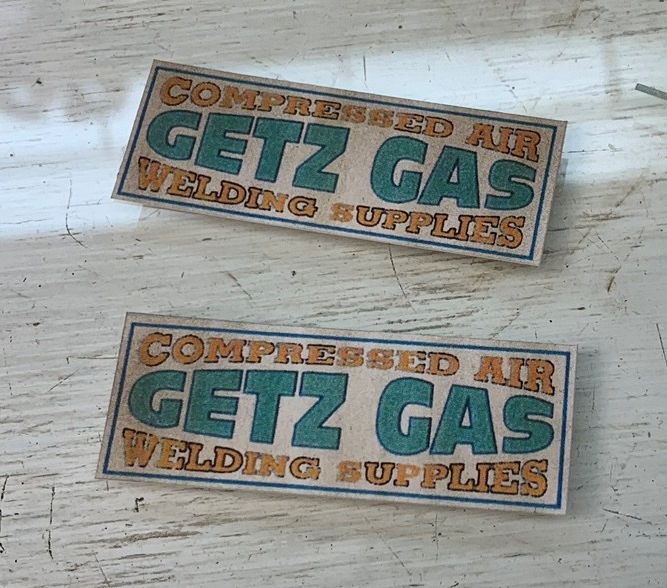
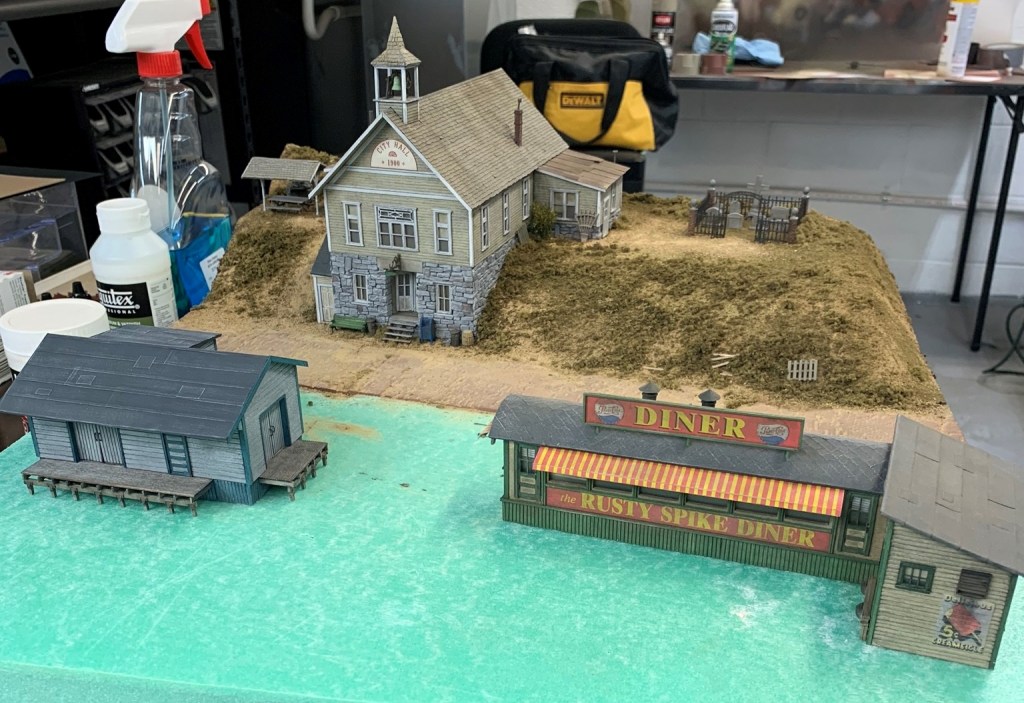
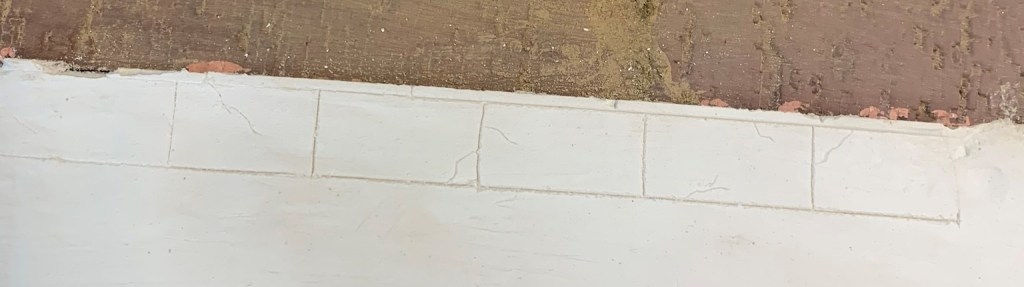
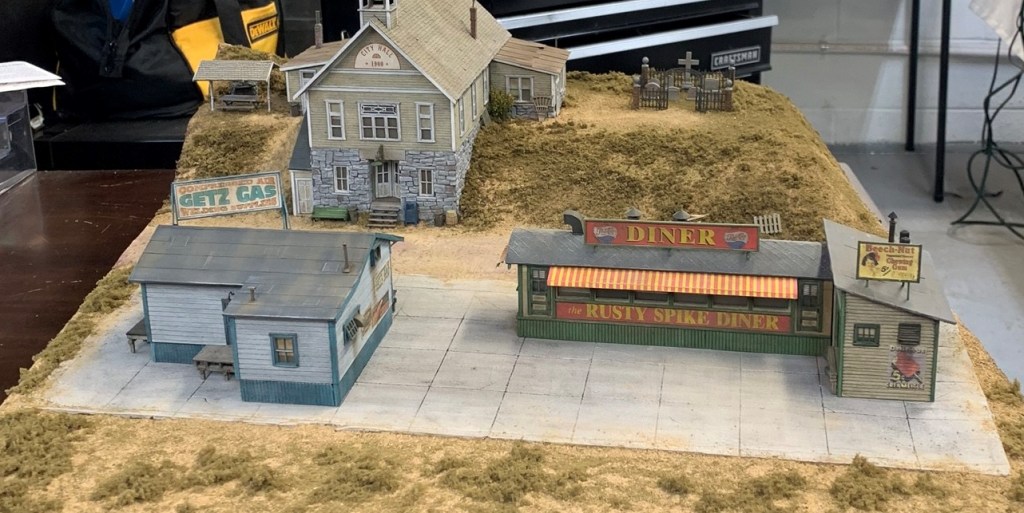
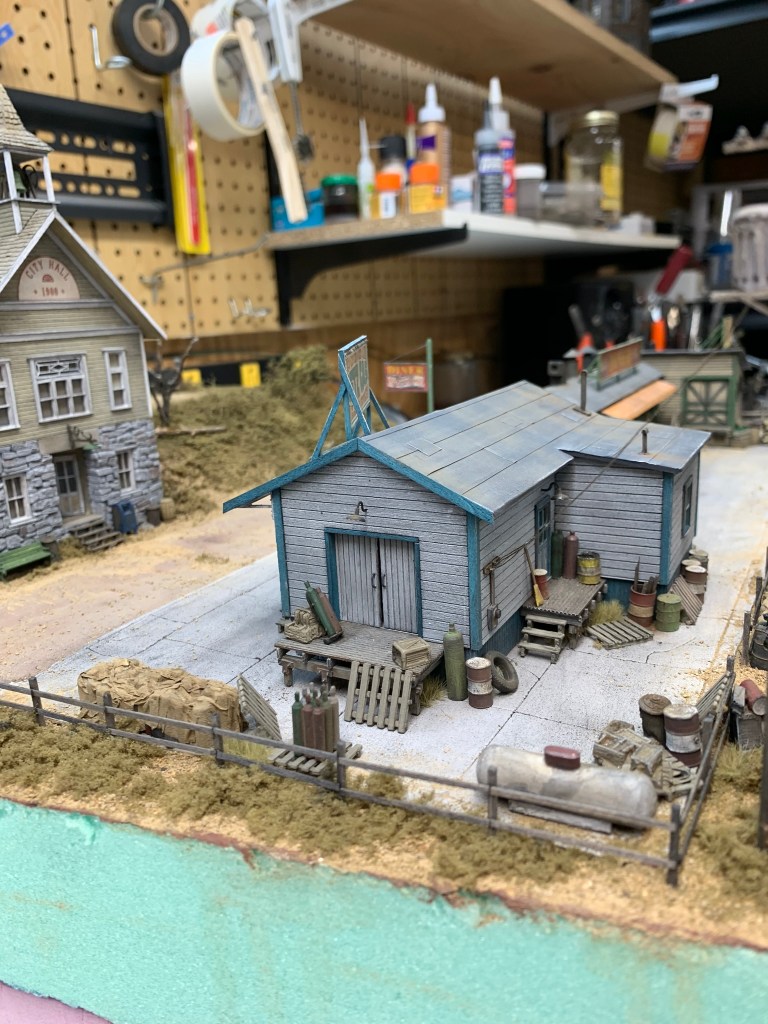
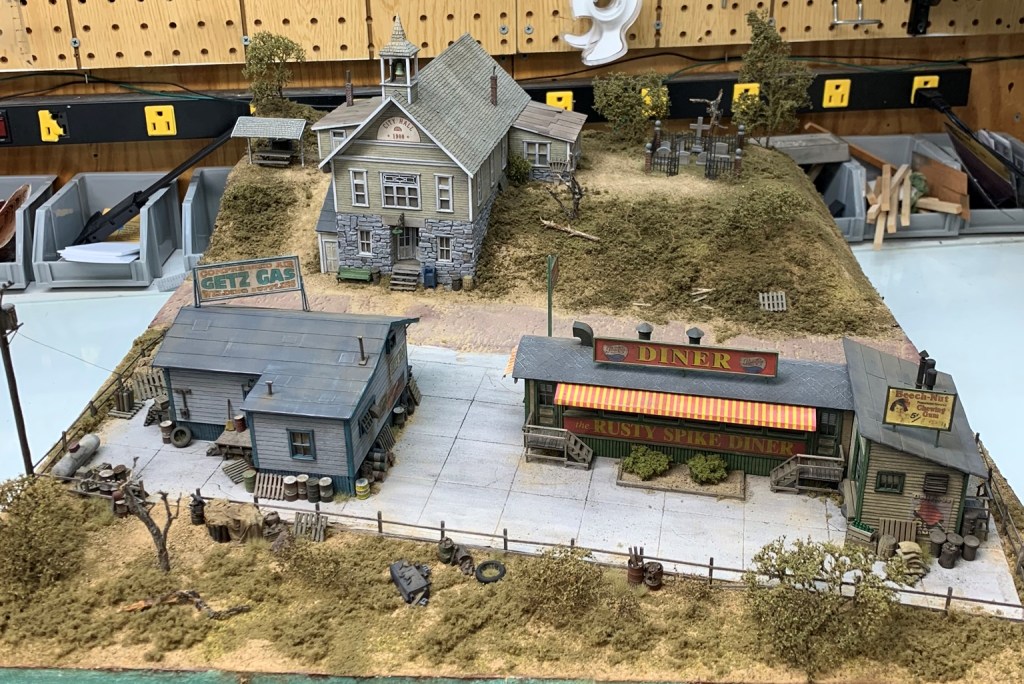
First step was sorting the castings. As with the Pitkin City Hall kit the castings are all excellent. Very little flash and very little cleanup. I sorted everything either wood or metal. Wood will get a Khaki colored primer and the metal will be blackened.All the wood components laid out.I roughed up the siding with a wire brush and gave it a base color of A&I.These cast pieces represent the legs for the decking.The decking consists of this piece of scribed siding.I cut the decking down into 3 sections for the 3 individual docks.This is the decking template. All the BIS kits I have include these excellent blueprint type templates.This is the skirting that goes around the base of the building.I stained the decking material and used double sided tape to attach it to the template face down.I glued the skirting to the bottom of the decking first. I used a piece of wood to keep the skirting at a 90 degree angle. I painted the skirting with Apple Barrel Tuscan Teal. That’s the color I will be using for all the trim. Next I glued the joists and then finally the metal supports.Same with this little dock.The walls are painted Apple Barrel Granite Gray. I coated them in Mineral Spirits before I painted this coat on.I used a wire brush to pull up the paint. The thinner keeps the paint from really adhering to the wall so this technique works well.The rest of the walls with base color applied.The rest of the skirting is a tiny bit taller than the skirting that goes under the decking. It all gets glued to the bottom “floor”.Here it is with all the loading docks and skirting attached.The loading dock doors are built from scribed siding. I primed with A&I, colored with Granite Gray and weathered with another coat of A&I.These are the door handles. I bent then with a small pair of needle nose pliers.Here is the handle installed in the door.All the doors completedI finished and installed all the doors and windows.Added some signage. The signs were weathered with chalk powders.I started gluing the walls together.All the walls are glued together and as close to square as possible.I glued the upper walls to the base.I added the roof card.These supports are a nice little detailI painted the supports white and added them to the roof card.I started adding the roofing materialTarpaper is addedI colored the roof a darker red and weathered it with some A&I. It came out terrible. I was not happy with this at all.I wasted no time tearing off the roof and re-doing it.I made a new roof card out of chipboard.I added tarpaper and painted it Apple Barrel Pavement this time.After some light dry-brushing.Cut out and weathered the main roof sign. I weathered the sign with chalks.I built the sign frame out of scale 2x4s and added it to the building.I placed the structure on the base to get a feel for layout and concrete placement.I wanted to make a concrete parking lot for under this structure and the diner. I framed it out with some scrap wood first.I added some pretty soupy plaster. I used a wet sponge to smooth it out. I pulled the stripwood frame off before the plaster fully cured.I started carving some sidewalks in the area next to the cobblestone road.I carved the expansion joints in the main concrete area.I painted the concrete with a light gray chalk craft paint. In the past I’ve had a really hard time painting concrete roads with craft paint without it coming up with a little sheen. The chalk paint dries flatter than the normal craft paint.I used the George Sellios method of charcoal briquet dust to weather it. I added the 2 structures but they are not glued yet. I wanted to build the little stairs and porches so I can get a better idea of placement before I secure them.Next step was working the details around the buildingI added a small fence and a whole bunch more details around the sceneI did very little detailing in the front because it wont be seen on the layout.Here you can see how all the buildings come together. The diner is from Fine Scale Miniatures.